How to Use Microsoft Forms?
Microsoft Forms is a simple tool designed for creating surveys, quizzes, and registration forms.
Phase 1: Signing In and Creating a Form
-
Go to forms.office.com.
-
Sign in using your KU email (see Fig. 1).
-
On the main page, click New Form (see Fig. 2).
-
Enter a title for your form (see Fig. 3).
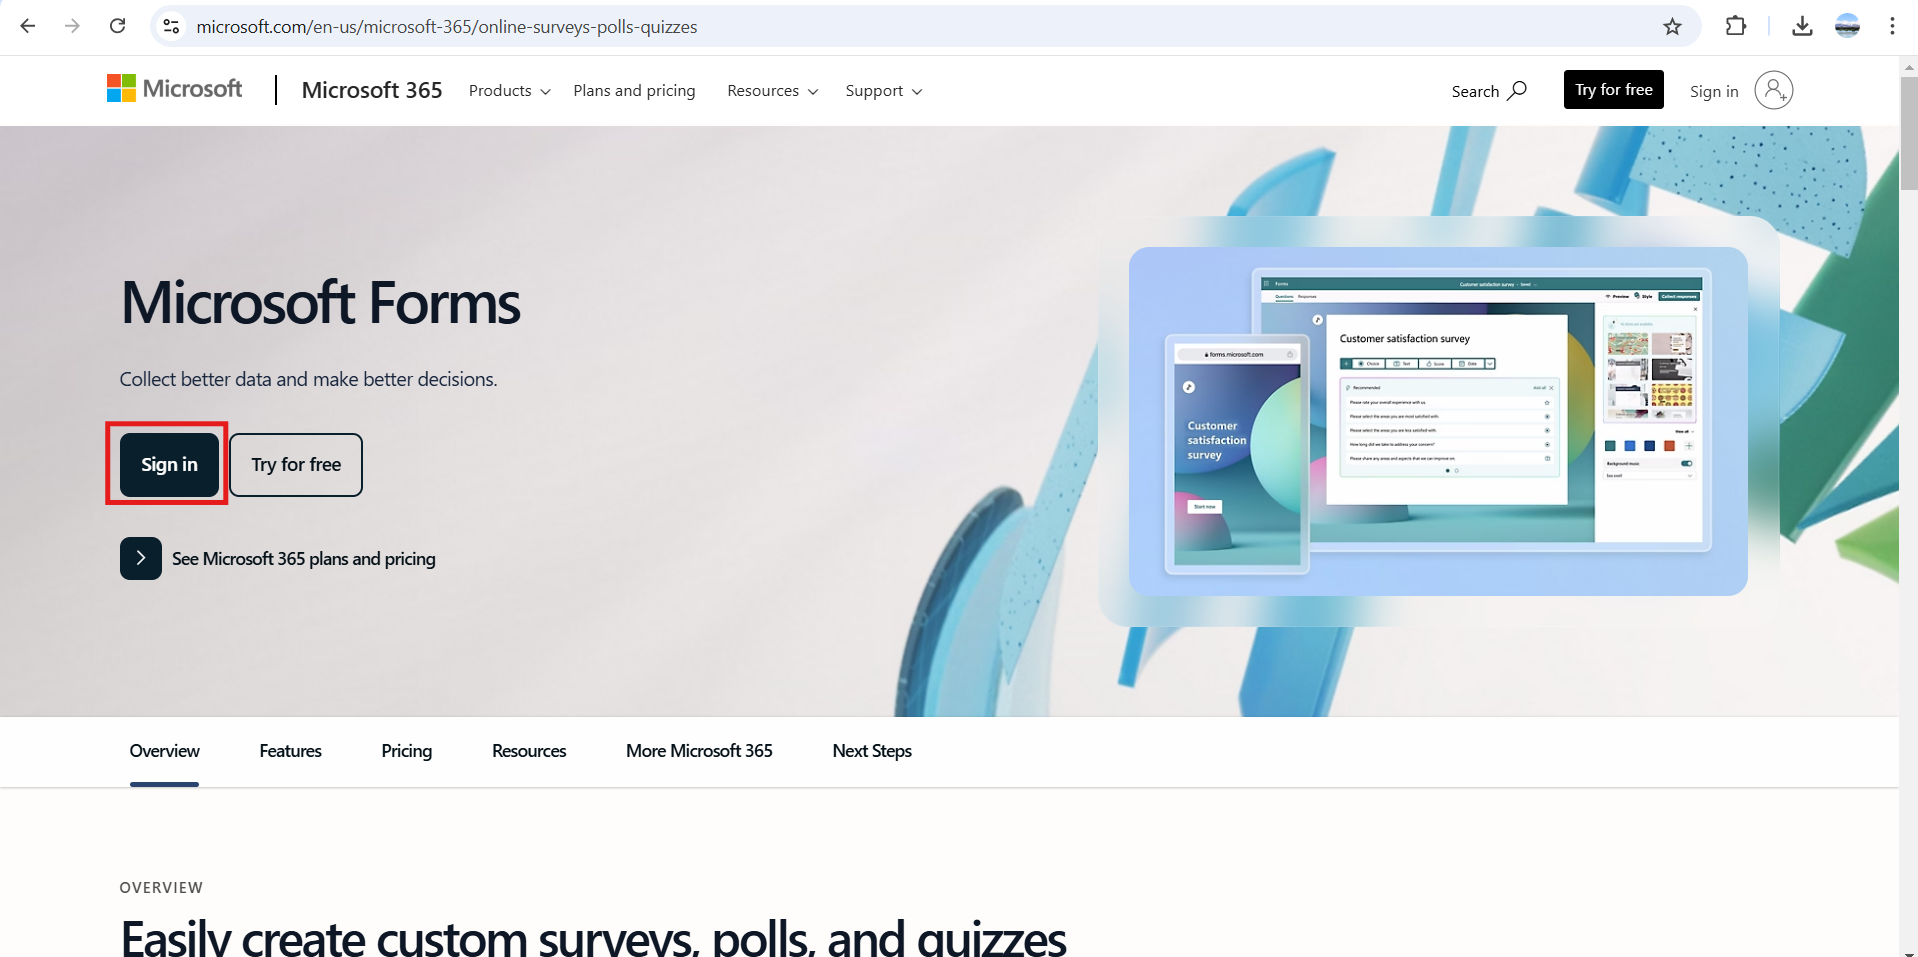
Fig. 1. Sign-in window
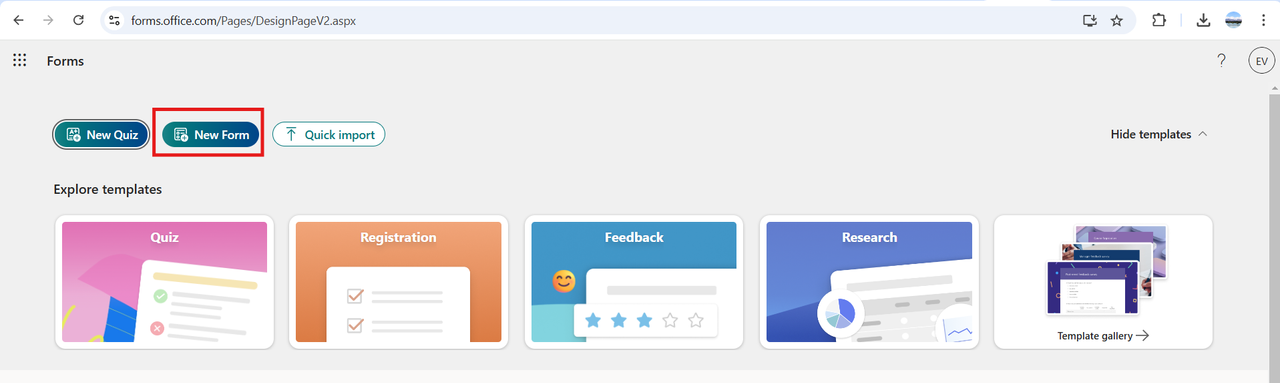
Fig. 2. New Form creation button
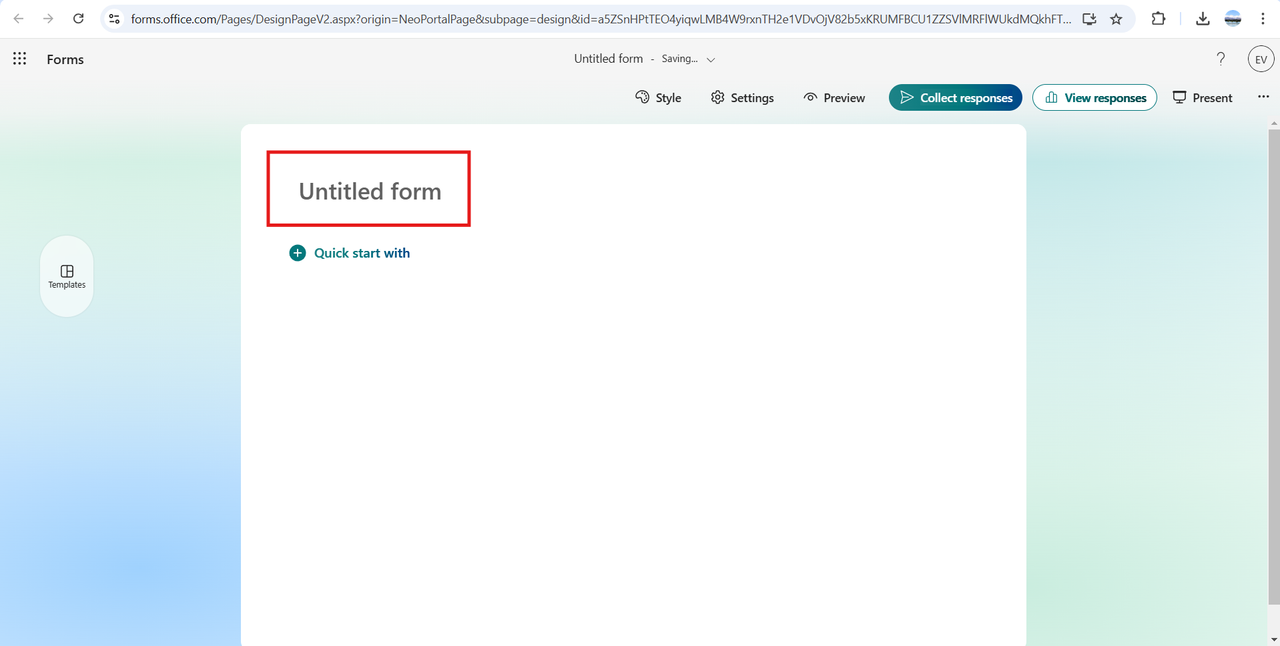
Fig. 3. Title entry field
Phase 2: Creating Questions
-
Click Add new to create a question (see Fig. 4).
-
Select the most suitable question type (see Fig. 5):
-
Choice: Multiple-choice options.
-
Text: Open-ended response.
-
Rating: Evaluation (stars or numbers).
-
Date: Date selection.
-
Likert: Scale for evaluating attitudes or opinions.
-
File upload: Allows respondents to upload their own files.
-
-
Adjust question settings: For each question, you can set additional parameters (see Fig. 6):
-
Mark the question as Required.
-
Add a Subtitle for extra explanation.
-
Set response restrictions (e.g., numbers only).
-
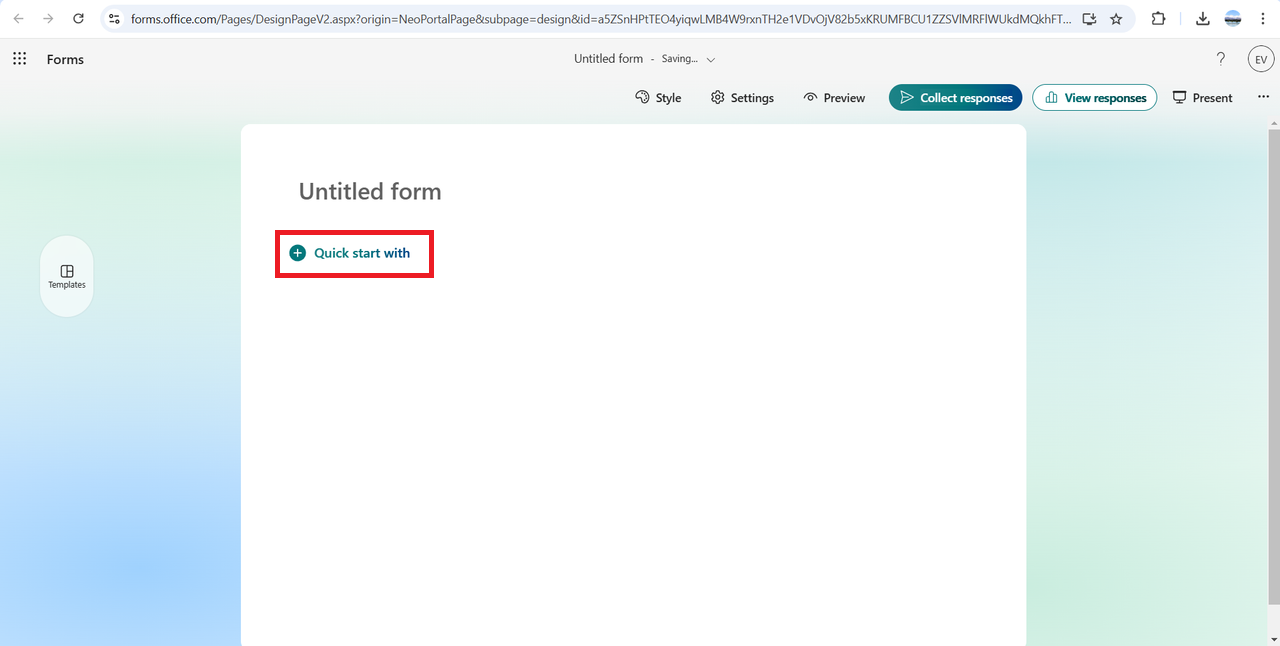
Fig. 4. Button to add questions
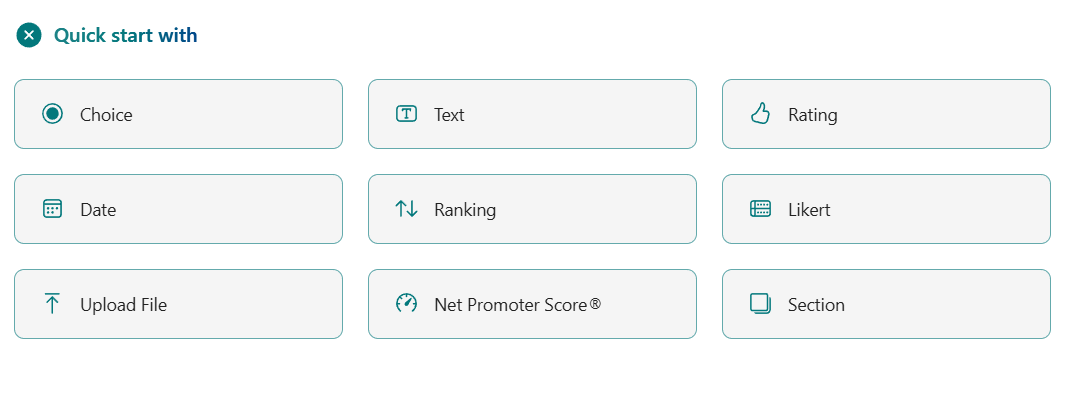
Fig. 5. Question types menu
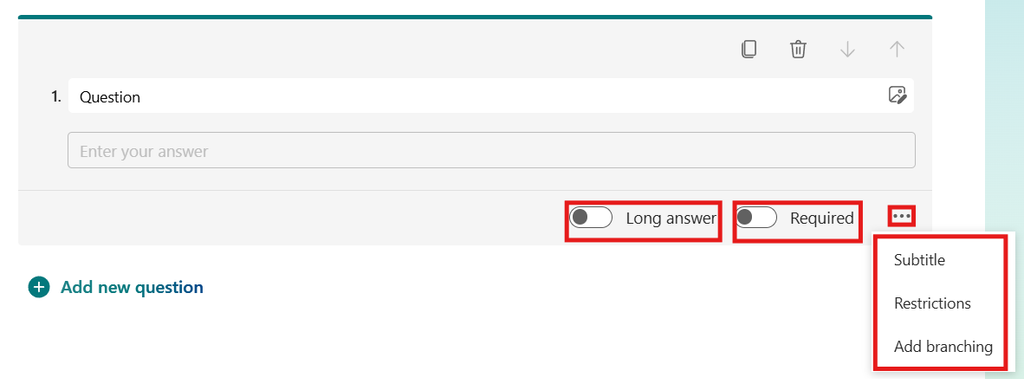
Fig. 6. Modifying question parameters
Phase 3: Sharing and Security
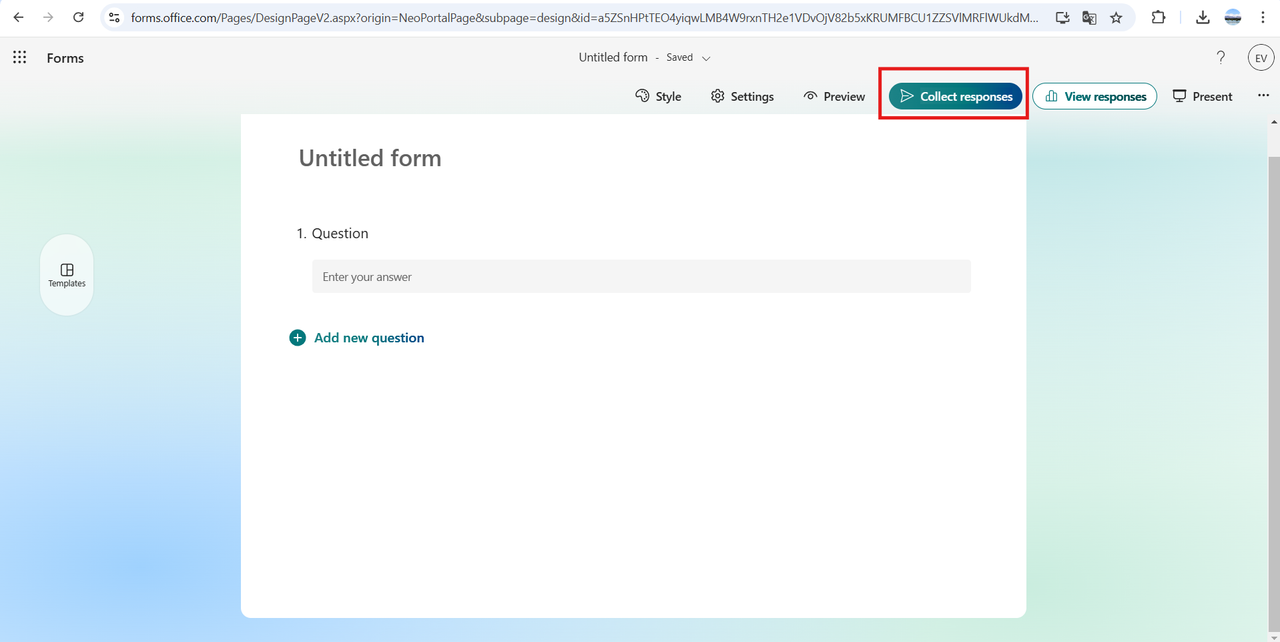
Fig. 7. Starting the sharing process
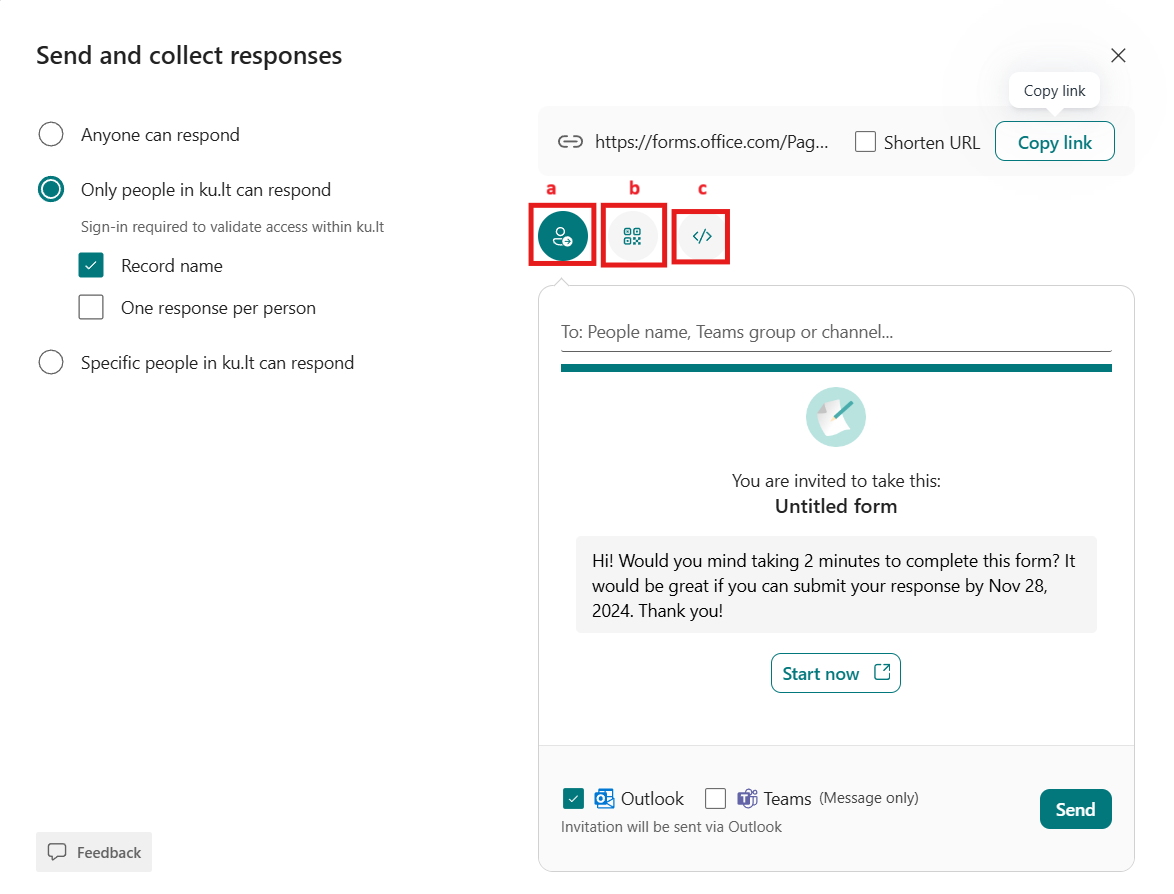
Fig. 8. Selecting a sharing method
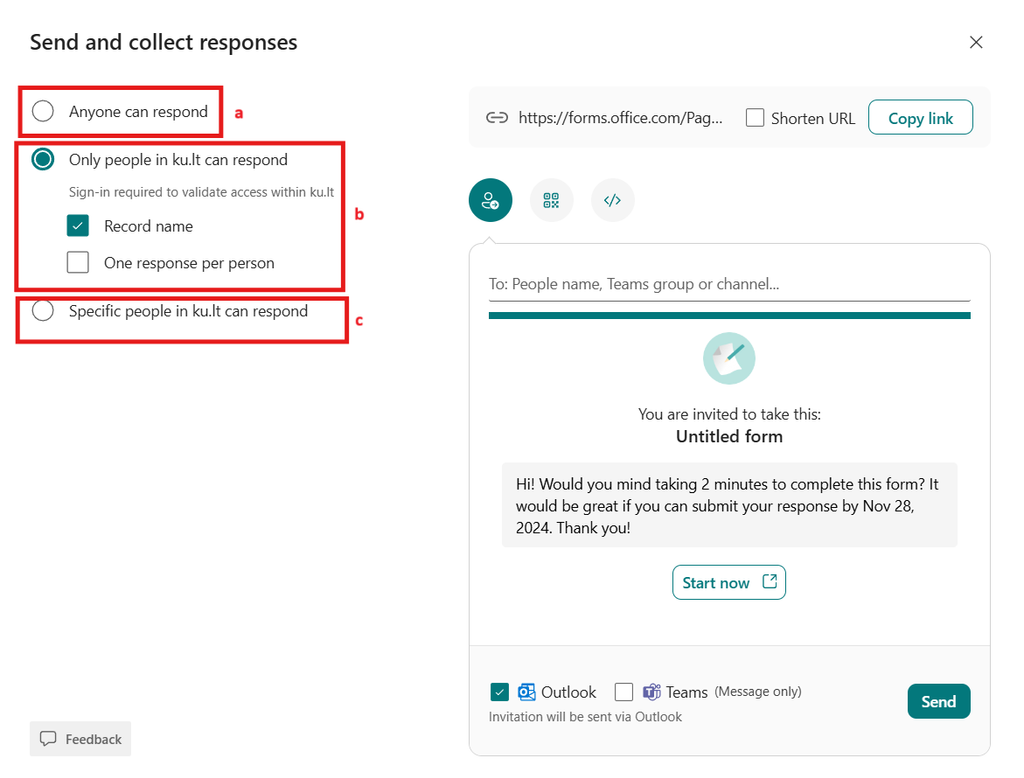
Fig. 9. Security settings
Phase 4: Reviewing Responses
-
Live Preview: Go to the Responses tab (see Fig. 10). Here you can see statistics, charts, and individual answers.
-
Review in Excel: Select Open results in Excel or download a copy (see Fig. 11).
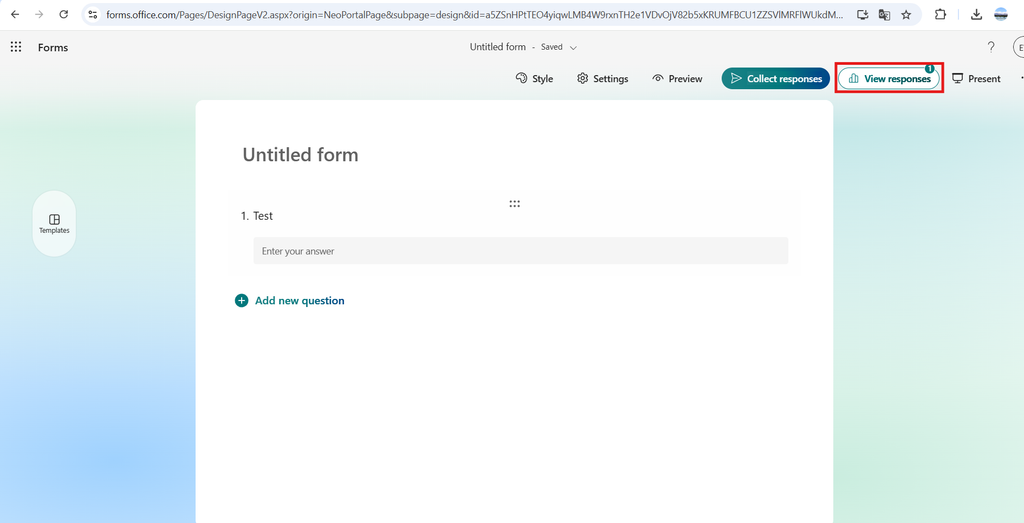
Fig. 10. Response review window
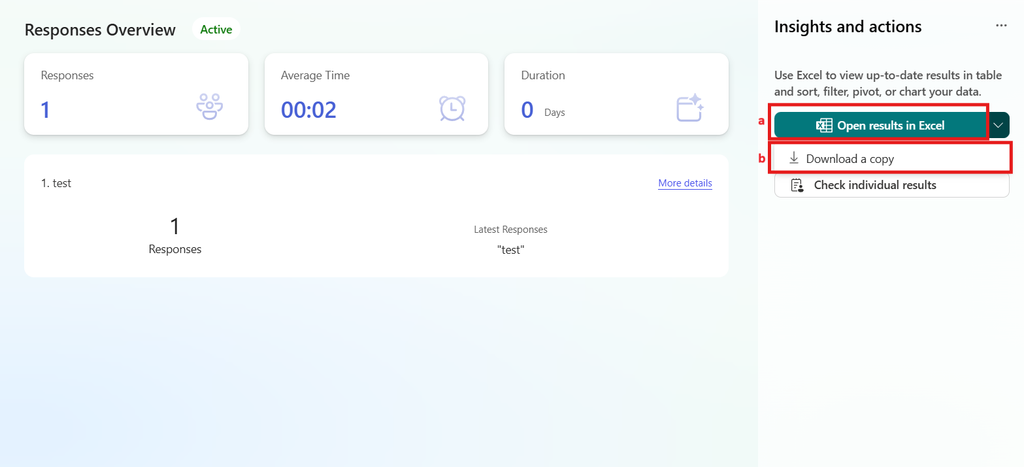
Fig. 11. Exporting responses to Excel
🛡️ Ensuring Security
-
Always use your organizational login.
-
For sensitive data, restrict access to KU members only.
-
Regularly review who has access to the form.
🆘 Support
-
KU IT Support: pagalba@ku.lt
-
Official Documentation: Microsoft Forms Help