How to Install and Start Using Office 365?
In this guide, you will learn how to sign in to your account and install Microsoft 365 applications (Word, Excel, PowerPoint, etc.) on your computer.
Step 1: Sign In to Your Microsoft 365 Account
-
Open your browser (Chrome or Edge recommended) and go to: office.com.
-
Click the Sign in button (see Fig. 1).
-
Enter your KU Single Sign-On (SSO) email address and click Next (see Fig. 2).
-
Enter your password and click Sign in (see Fig. 3).
-
If Multi-Factor Authentication (MFA) is enabled on your account, enter the code from your app or SMS (see Fig. 4).
-
Choose whether you want to stay signed in (click Yes or No) (see Fig. 5).
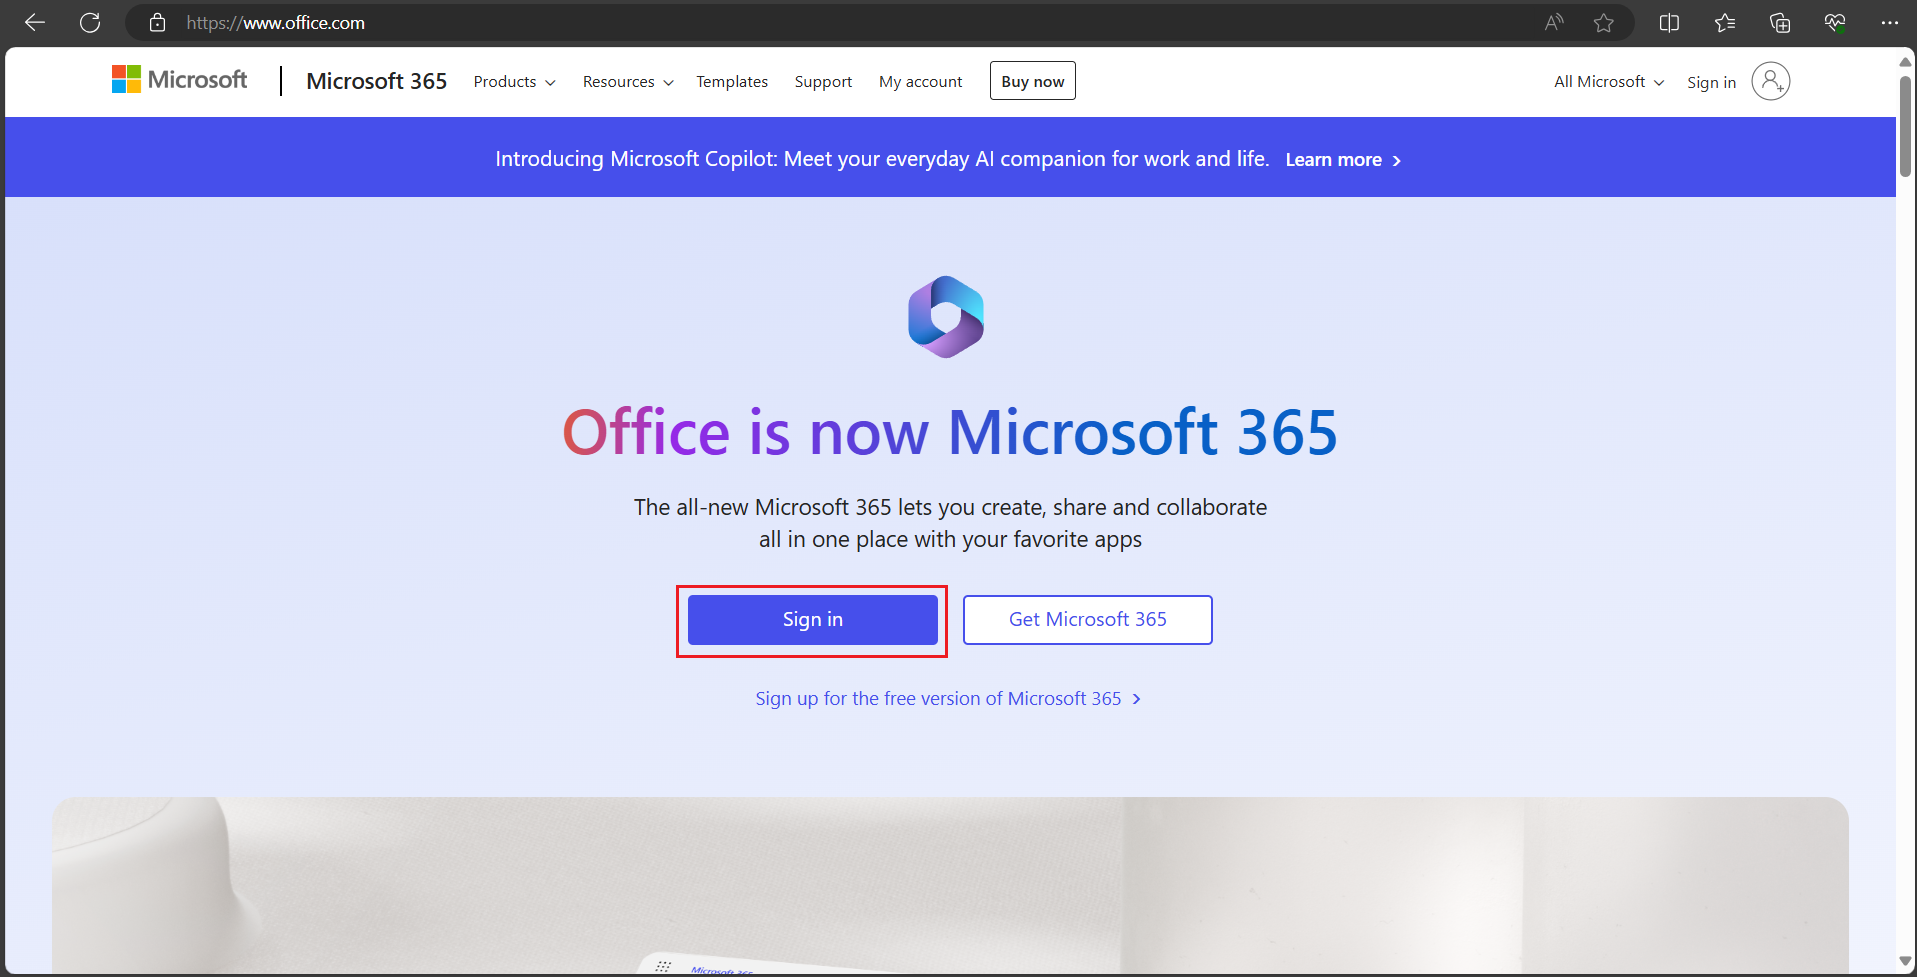
Fig. 1. "Sign in" button
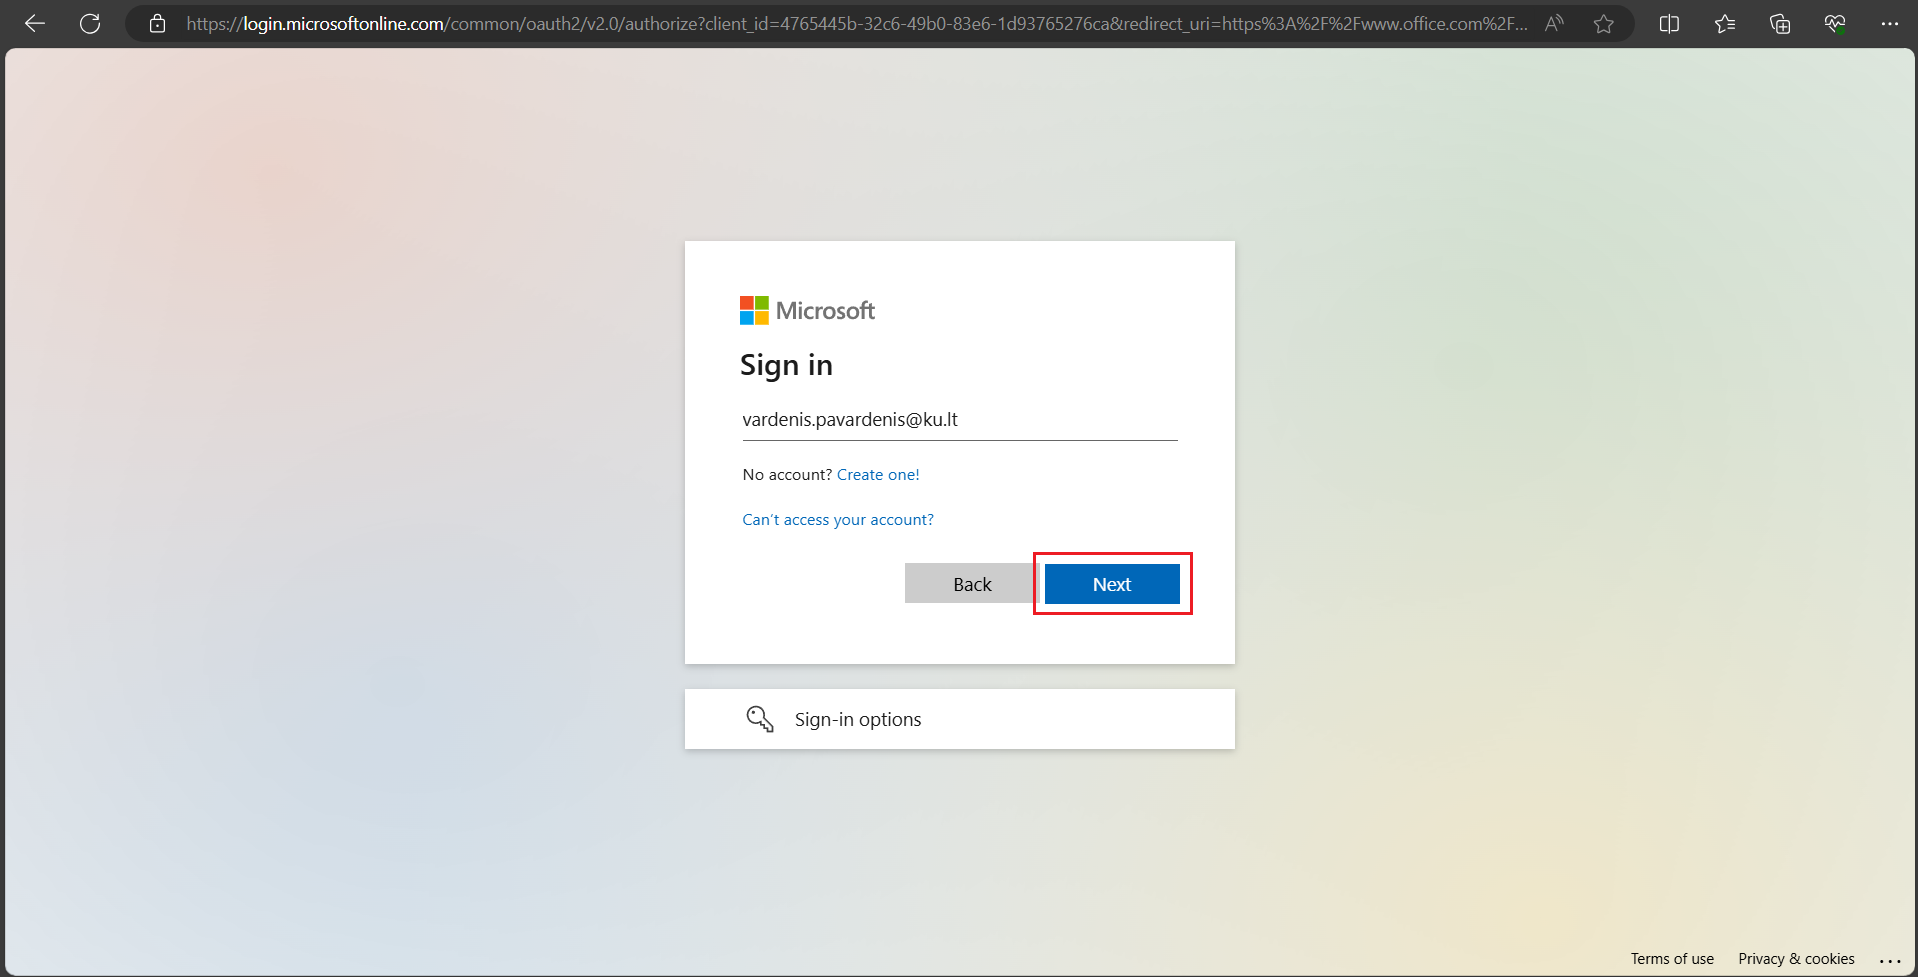
Fig. 2. Email address entry window
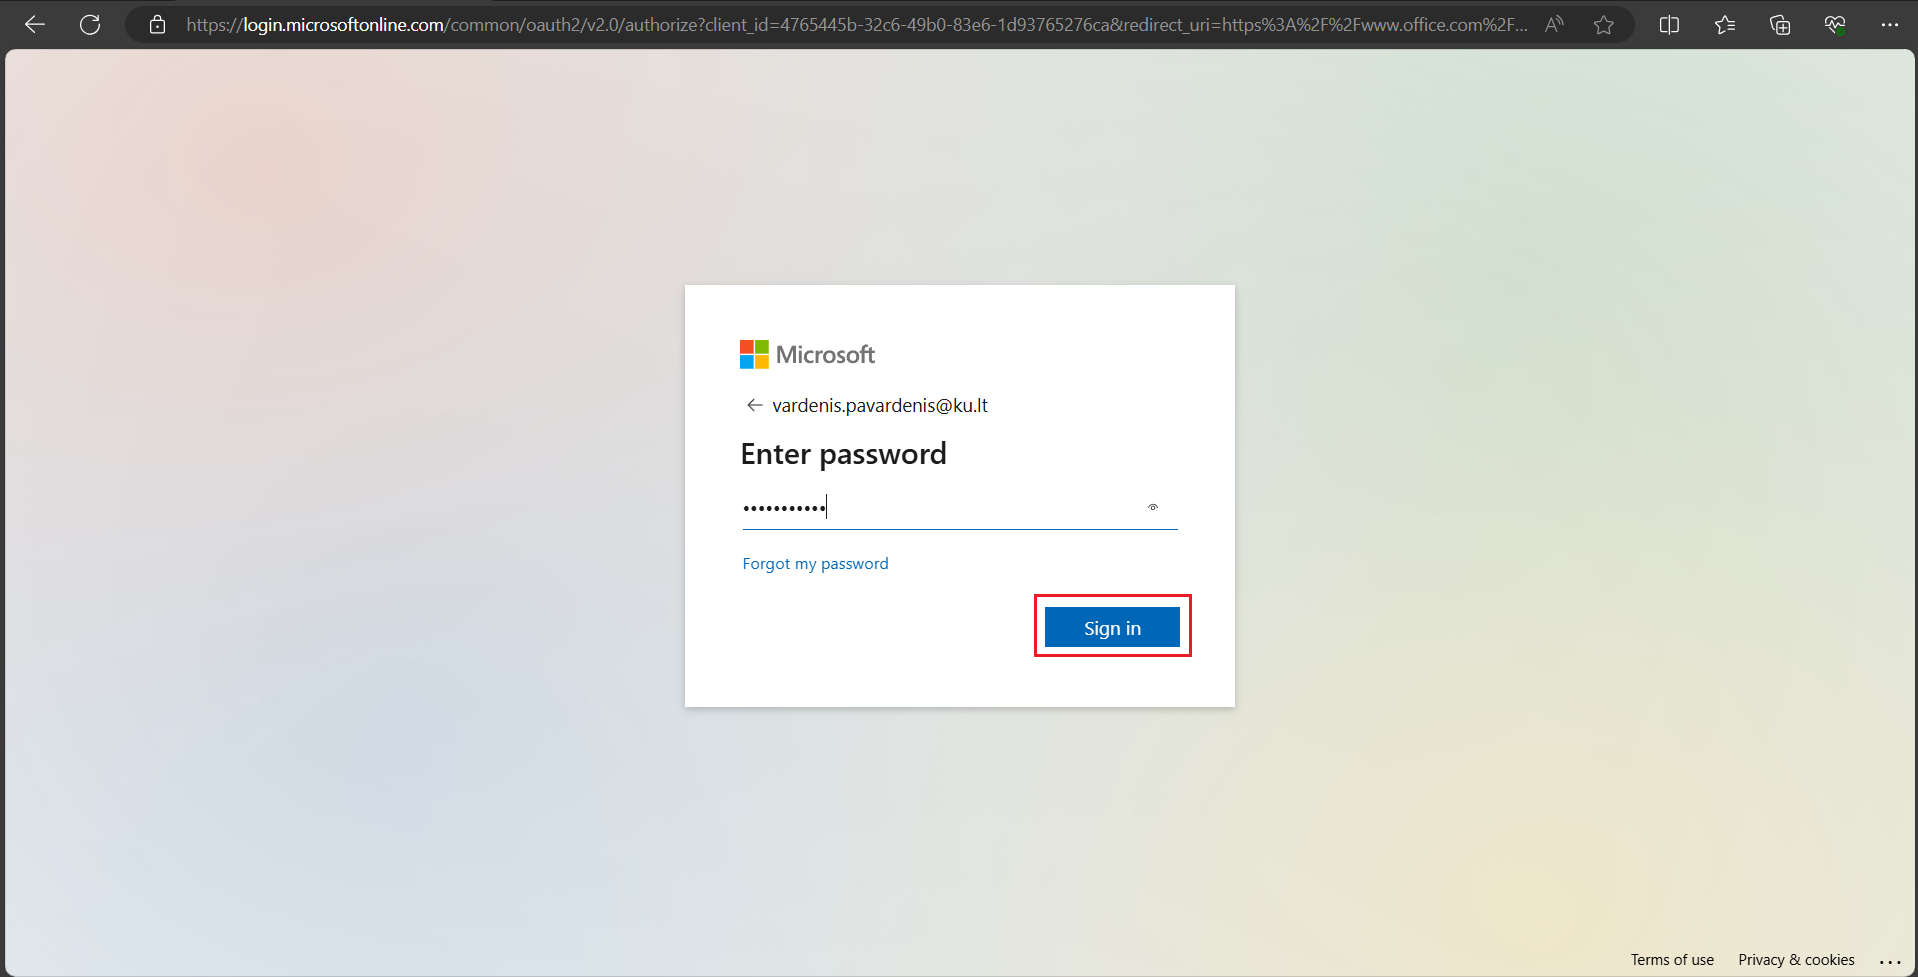
Fig. 3. Password entry

Fig. 4. Identity verification window
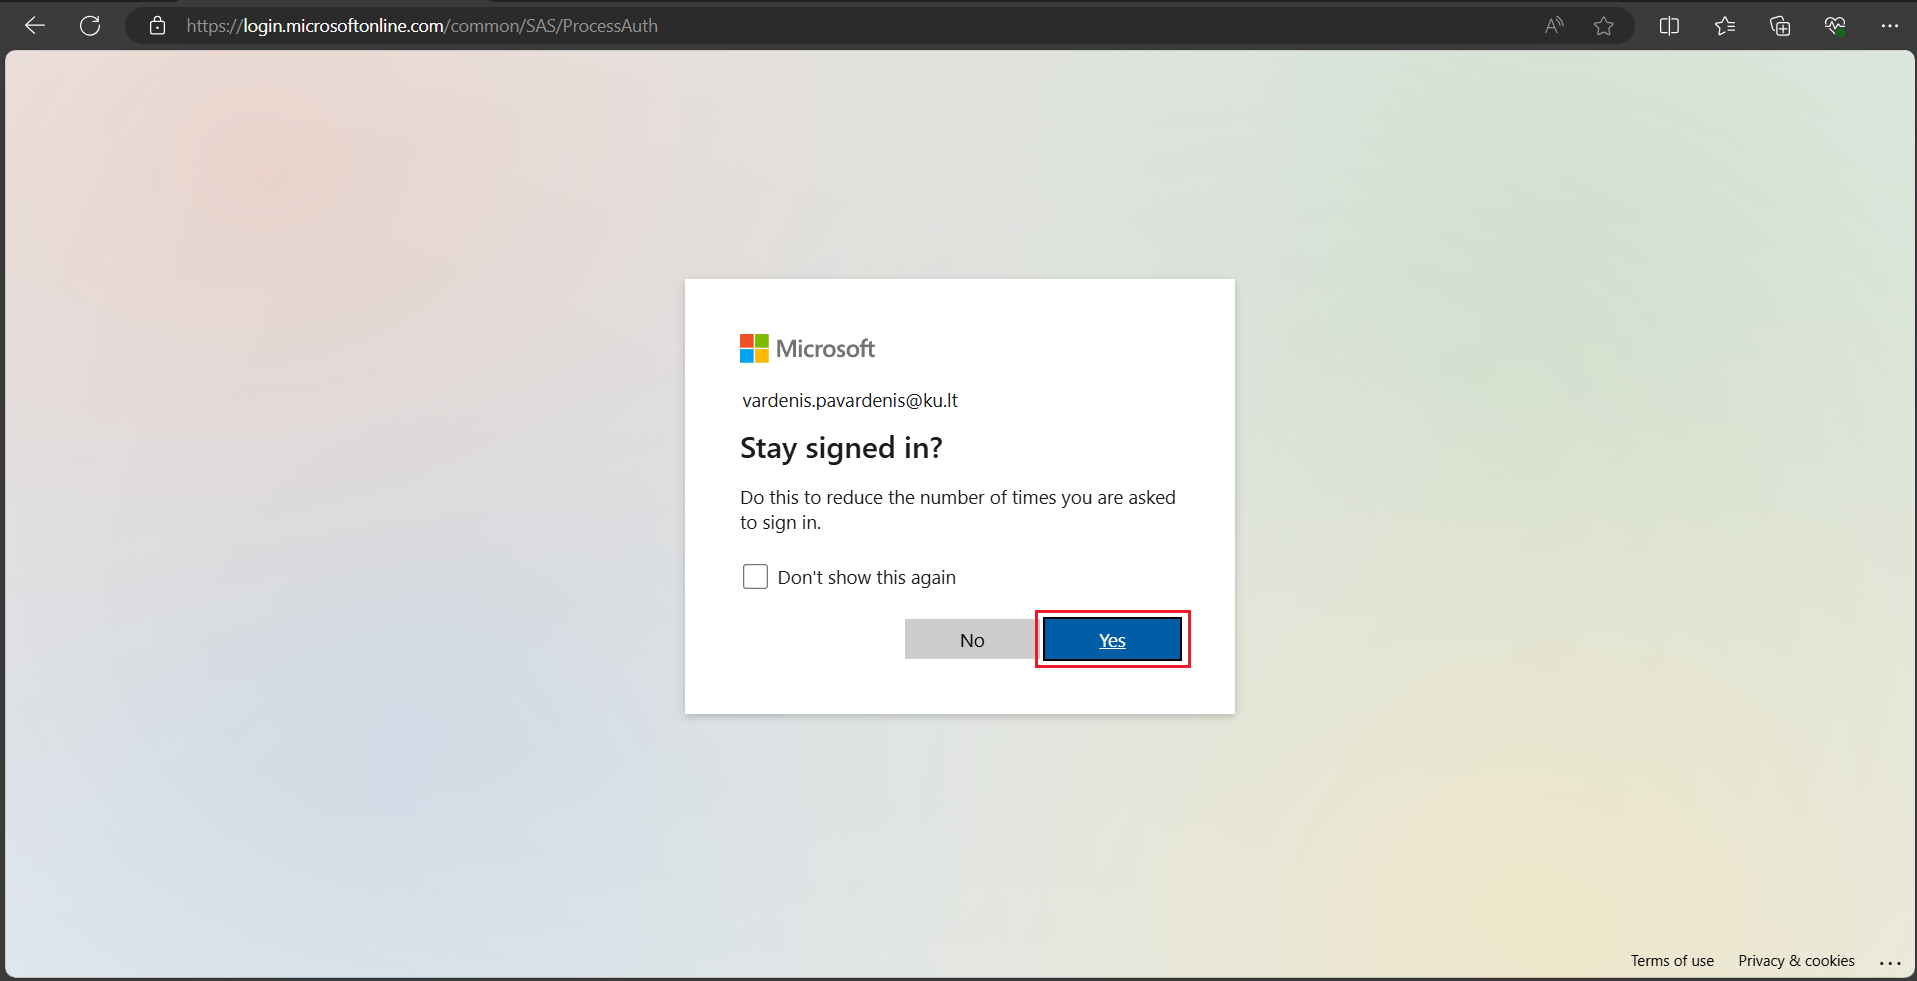
Fig. 5. "Stay signed in?" prompt
Step 2: Download the Installer
-
On the home page, locate and click the Install and more button (see Fig. 6).
-
From the dropdown list, select Install Microsoft 365 apps (see Fig. 7).
-
On the new page that opens, click Install Office to download the setup file to your computer (see Fig. 8 and 9).

Fig. 6. "Install and more" button in the top right corner
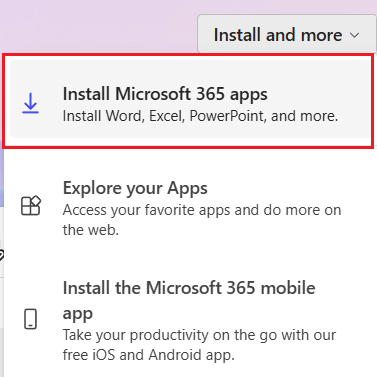
Fig. 7. Option to install apps
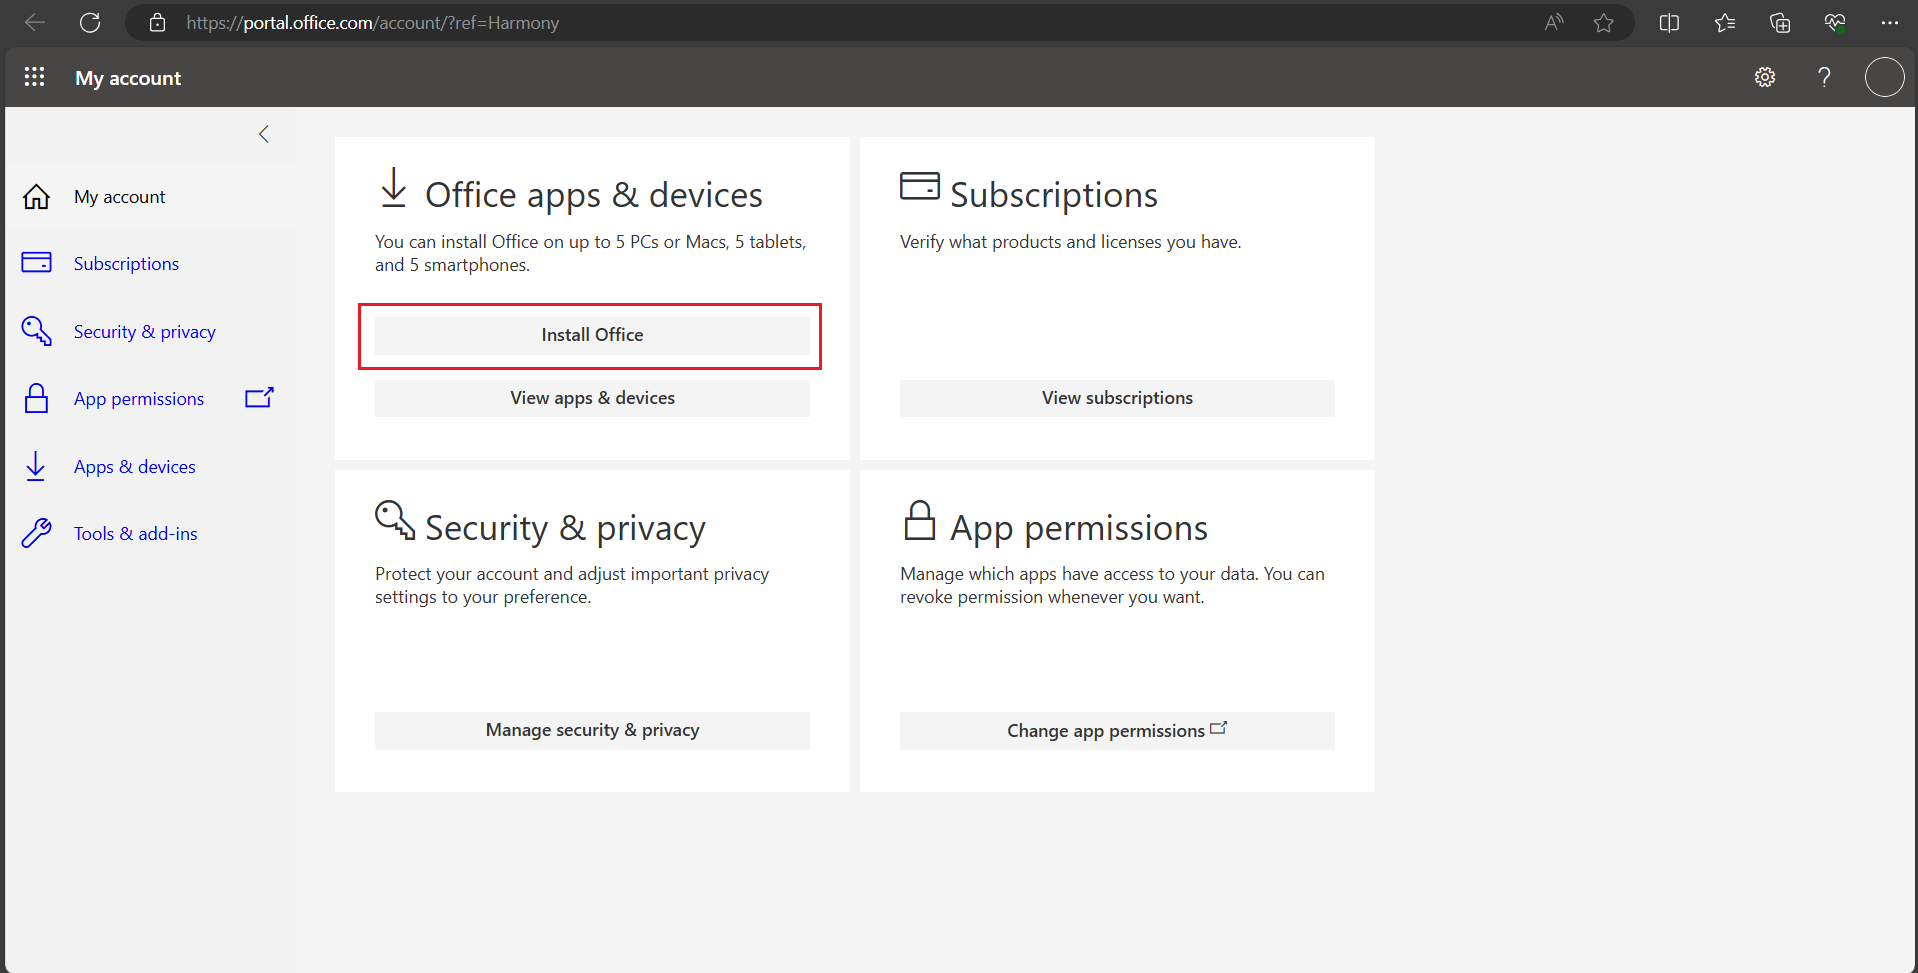
Fig. 8. Main install button
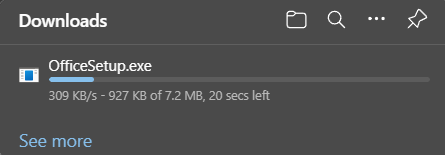
Fig. 9. Downloaded installer file at the top or bottom of the browser
Step 3: Install the Applications
-
Open the downloaded file.
-
If your computer asks for confirmation, click Yes.
-
Wait for the system to automatically install all applications. This may take a few minutes.
-
Upon completion, you will see the message: "You’re all set! Office is installed now" (see Fig. 10).
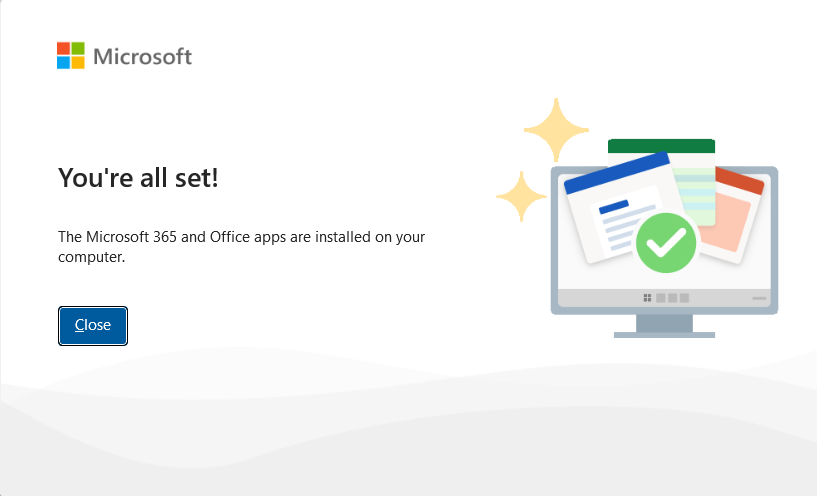
Fig. 10. Successful installation message
💡 Useful to Know
After the installation is complete, you will find all the applications (Word, Excel, Outlook) in your computer's Start menu. When you open any app for the first time, you may need to sign in again with your KU email to activate the license.