How to Configure KU Email in Outlook 2019?
Depending on whether you are using Outlook for the first time or already have other accounts added, choose the instruction that applies to you.
Option 1: First-time Configuration (New Profile)
If no email addresses have been added to Outlook yet:
-
Enter your address: Open the application, type your KU email address (e.g., firstname.lastname@ku.lt), and click Continue (see Fig. 1).
-
Sign in: Enter your password and click Sign in (see Fig. 2).
-
Choose access level: In the "Stay signed in to all your apps" window, select:
-
OK: if you want to automatically sign in to all Office 365 applications (recommended).
-
No, sign in to this app only: if you only want to use email (see Fig. 3).
-
-
Complete the process: Click Done (see Fig. 4). Your emails will begin loading into the program (see Fig. 5).
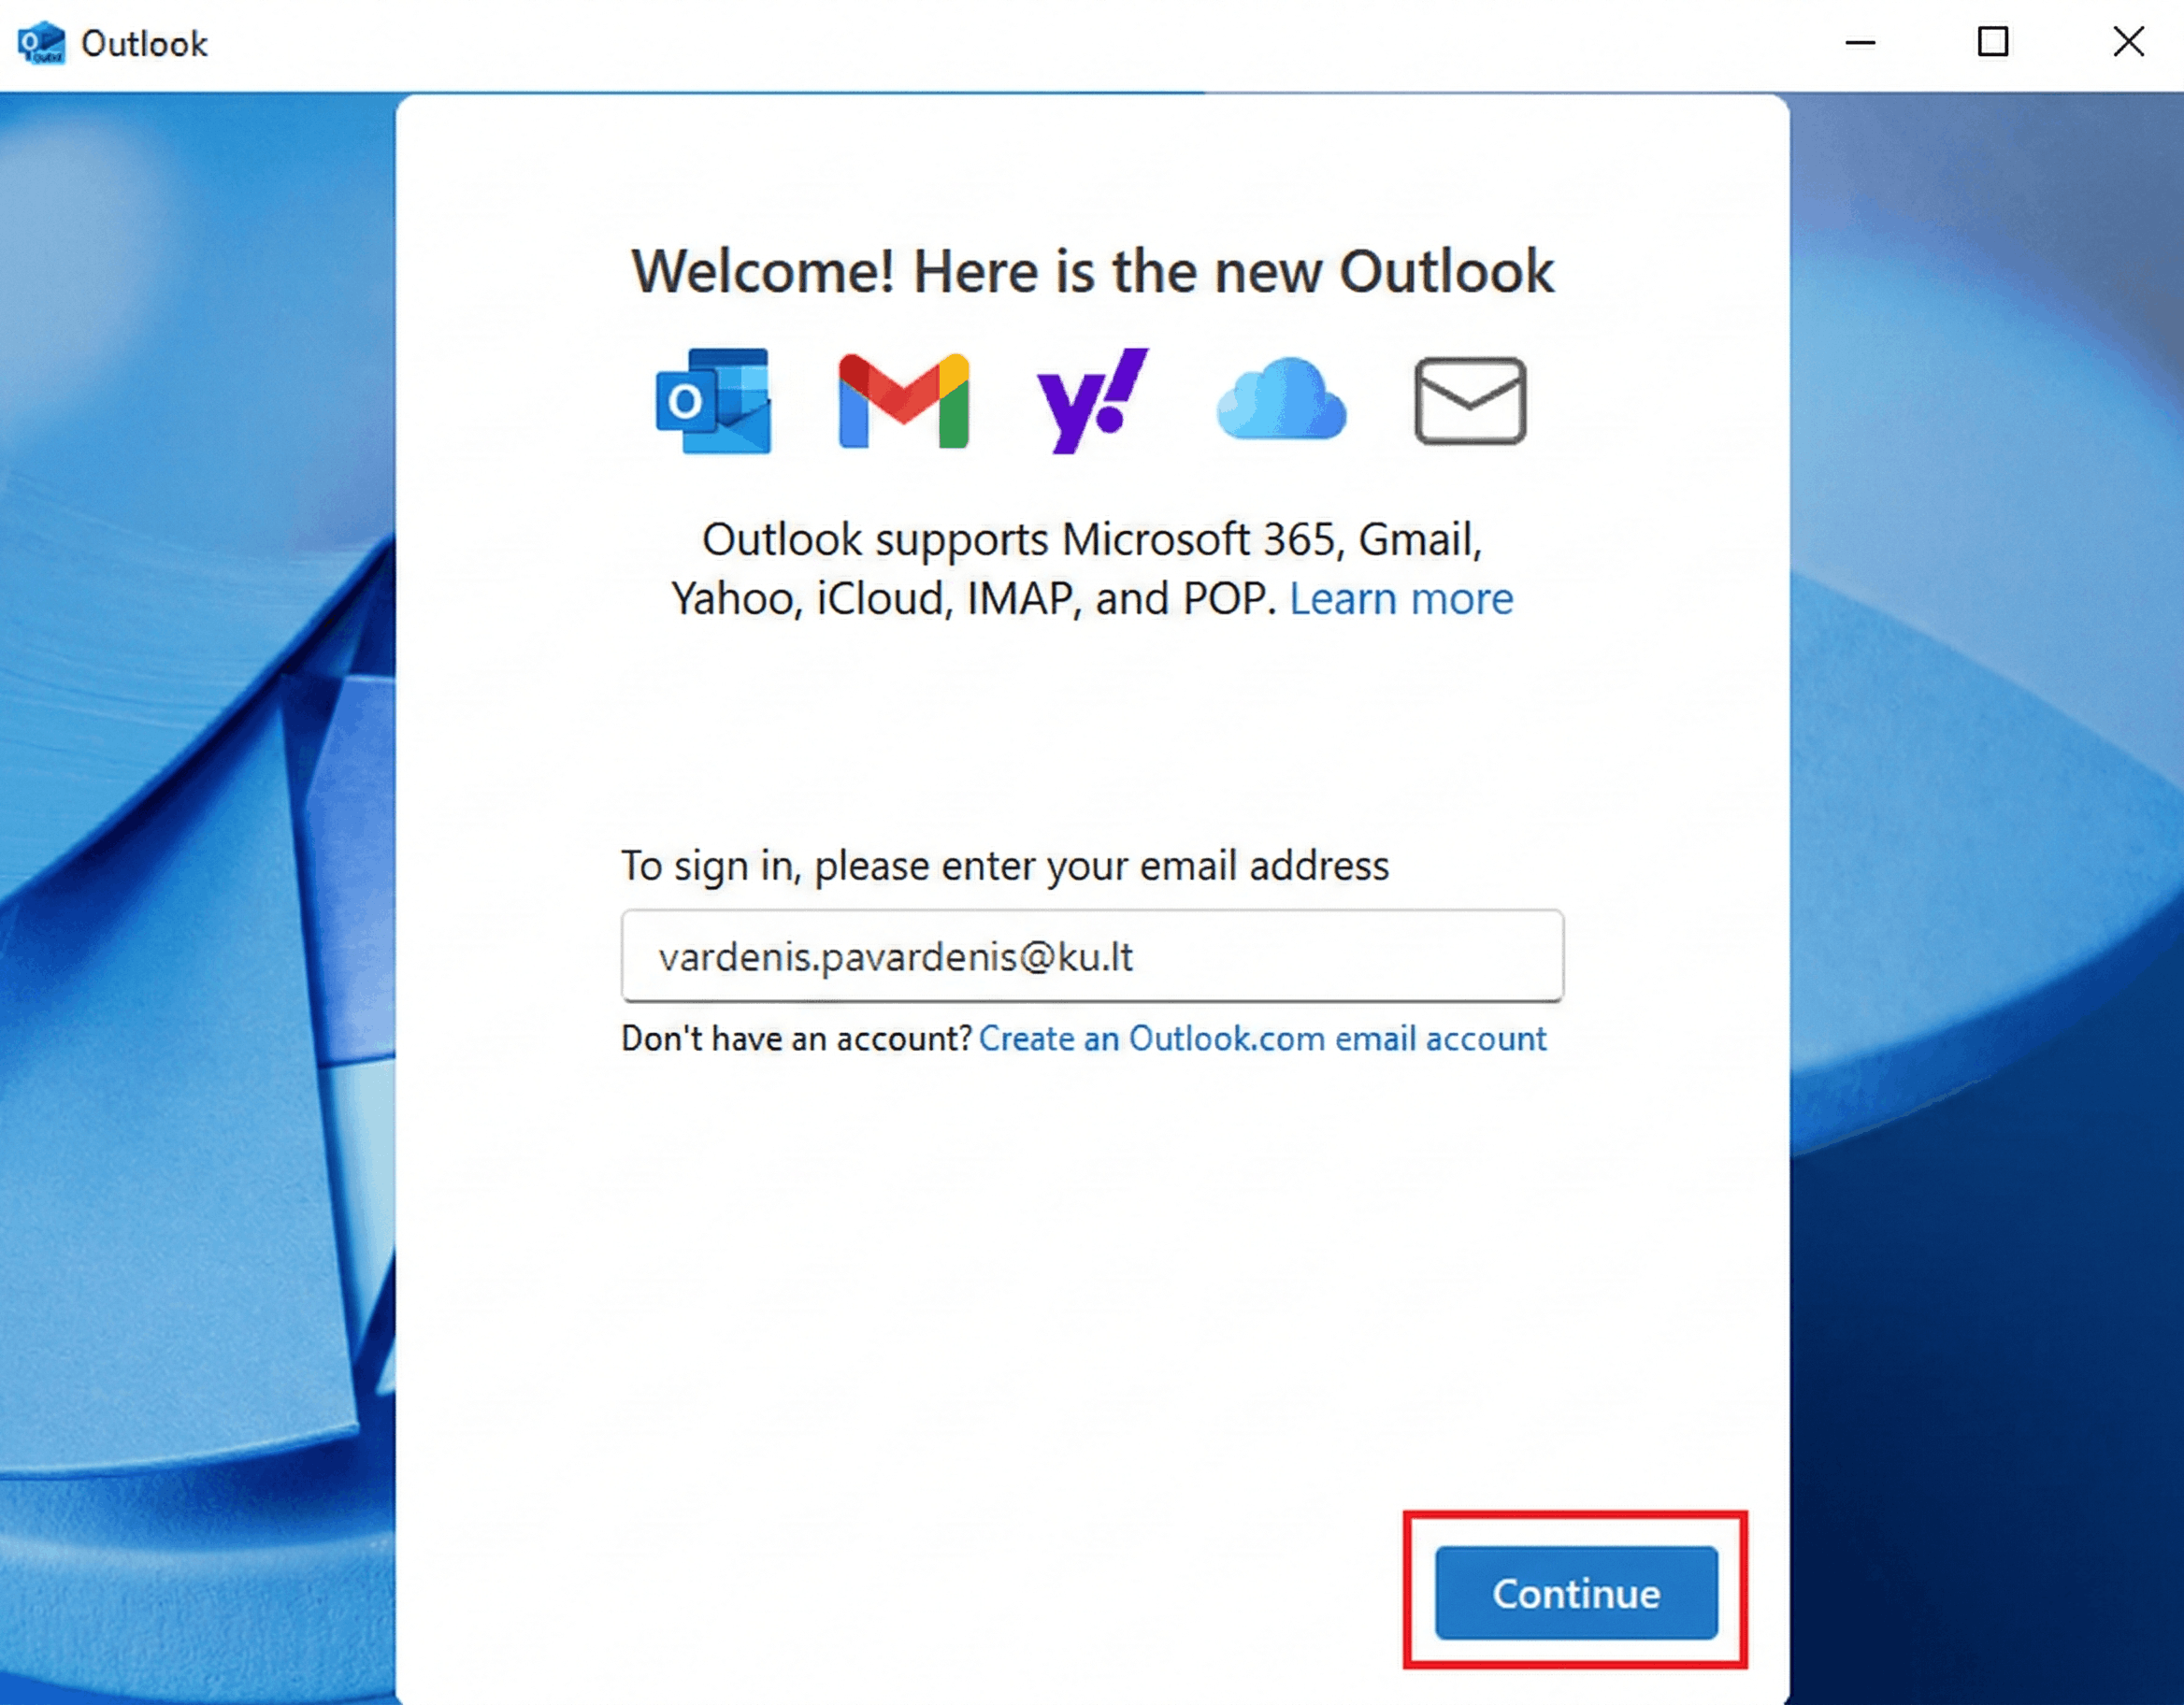
Fig. 1. Initial address entry window
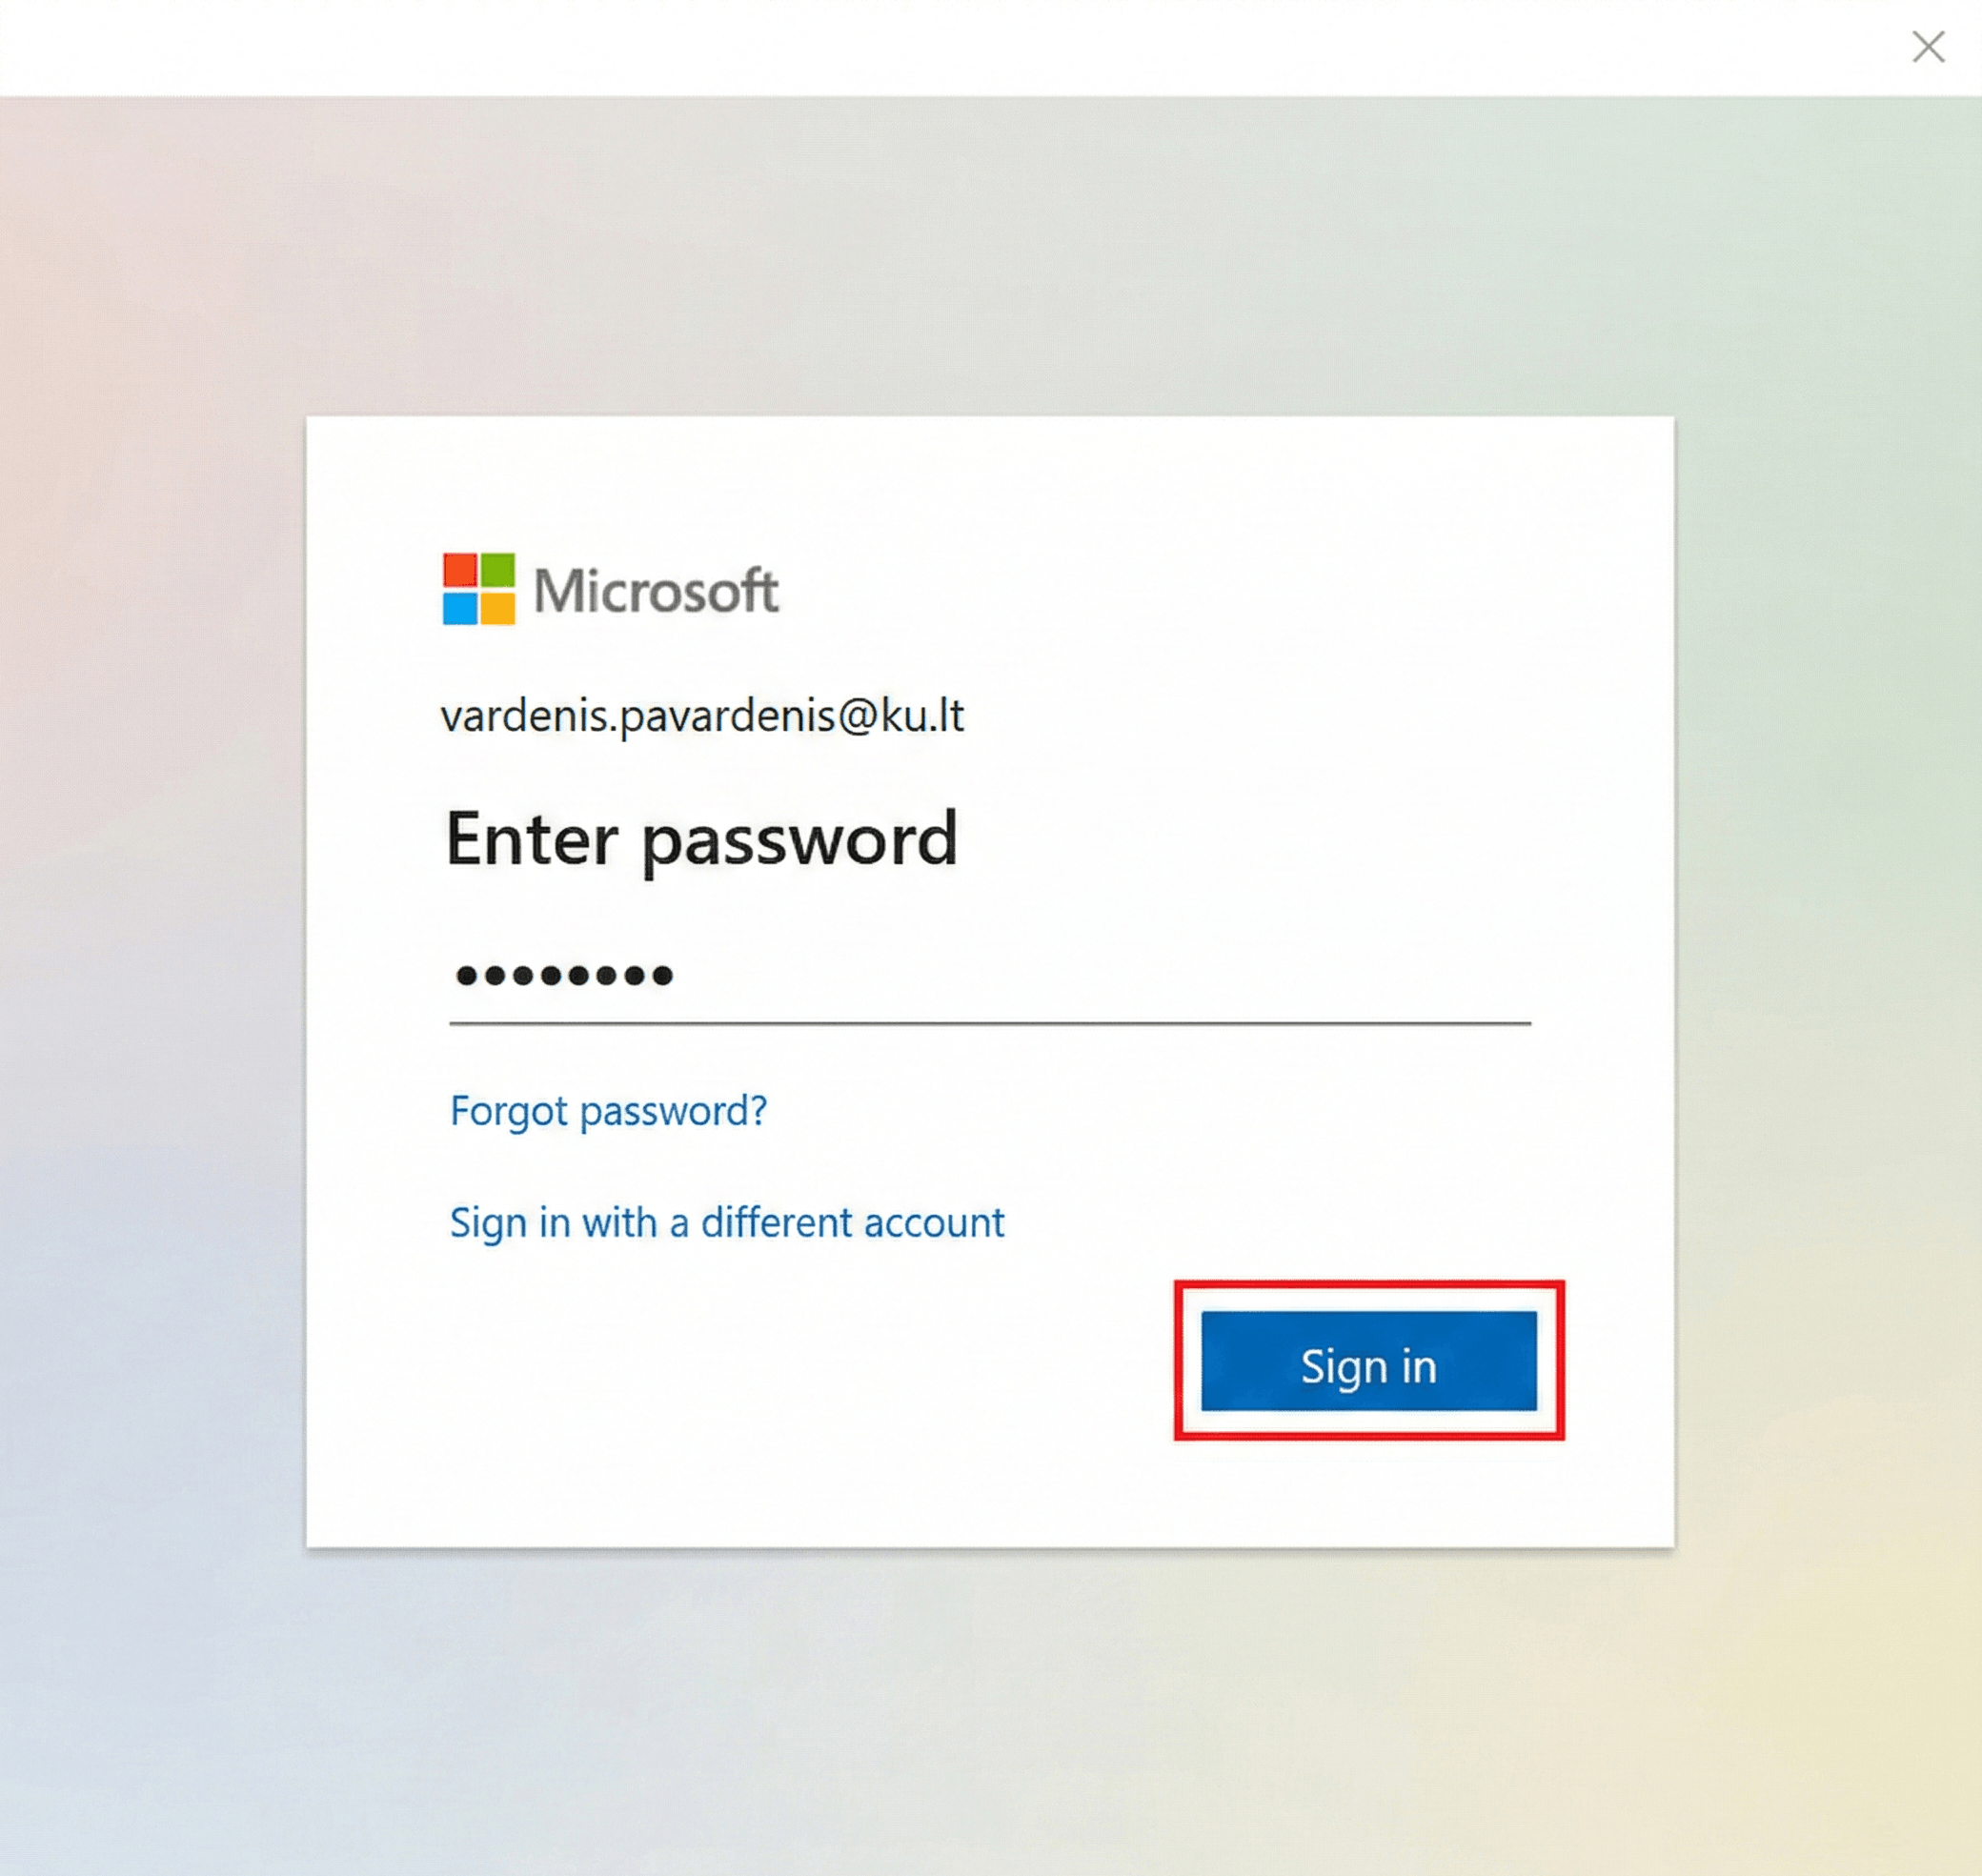
Fig. 2. Account password entry
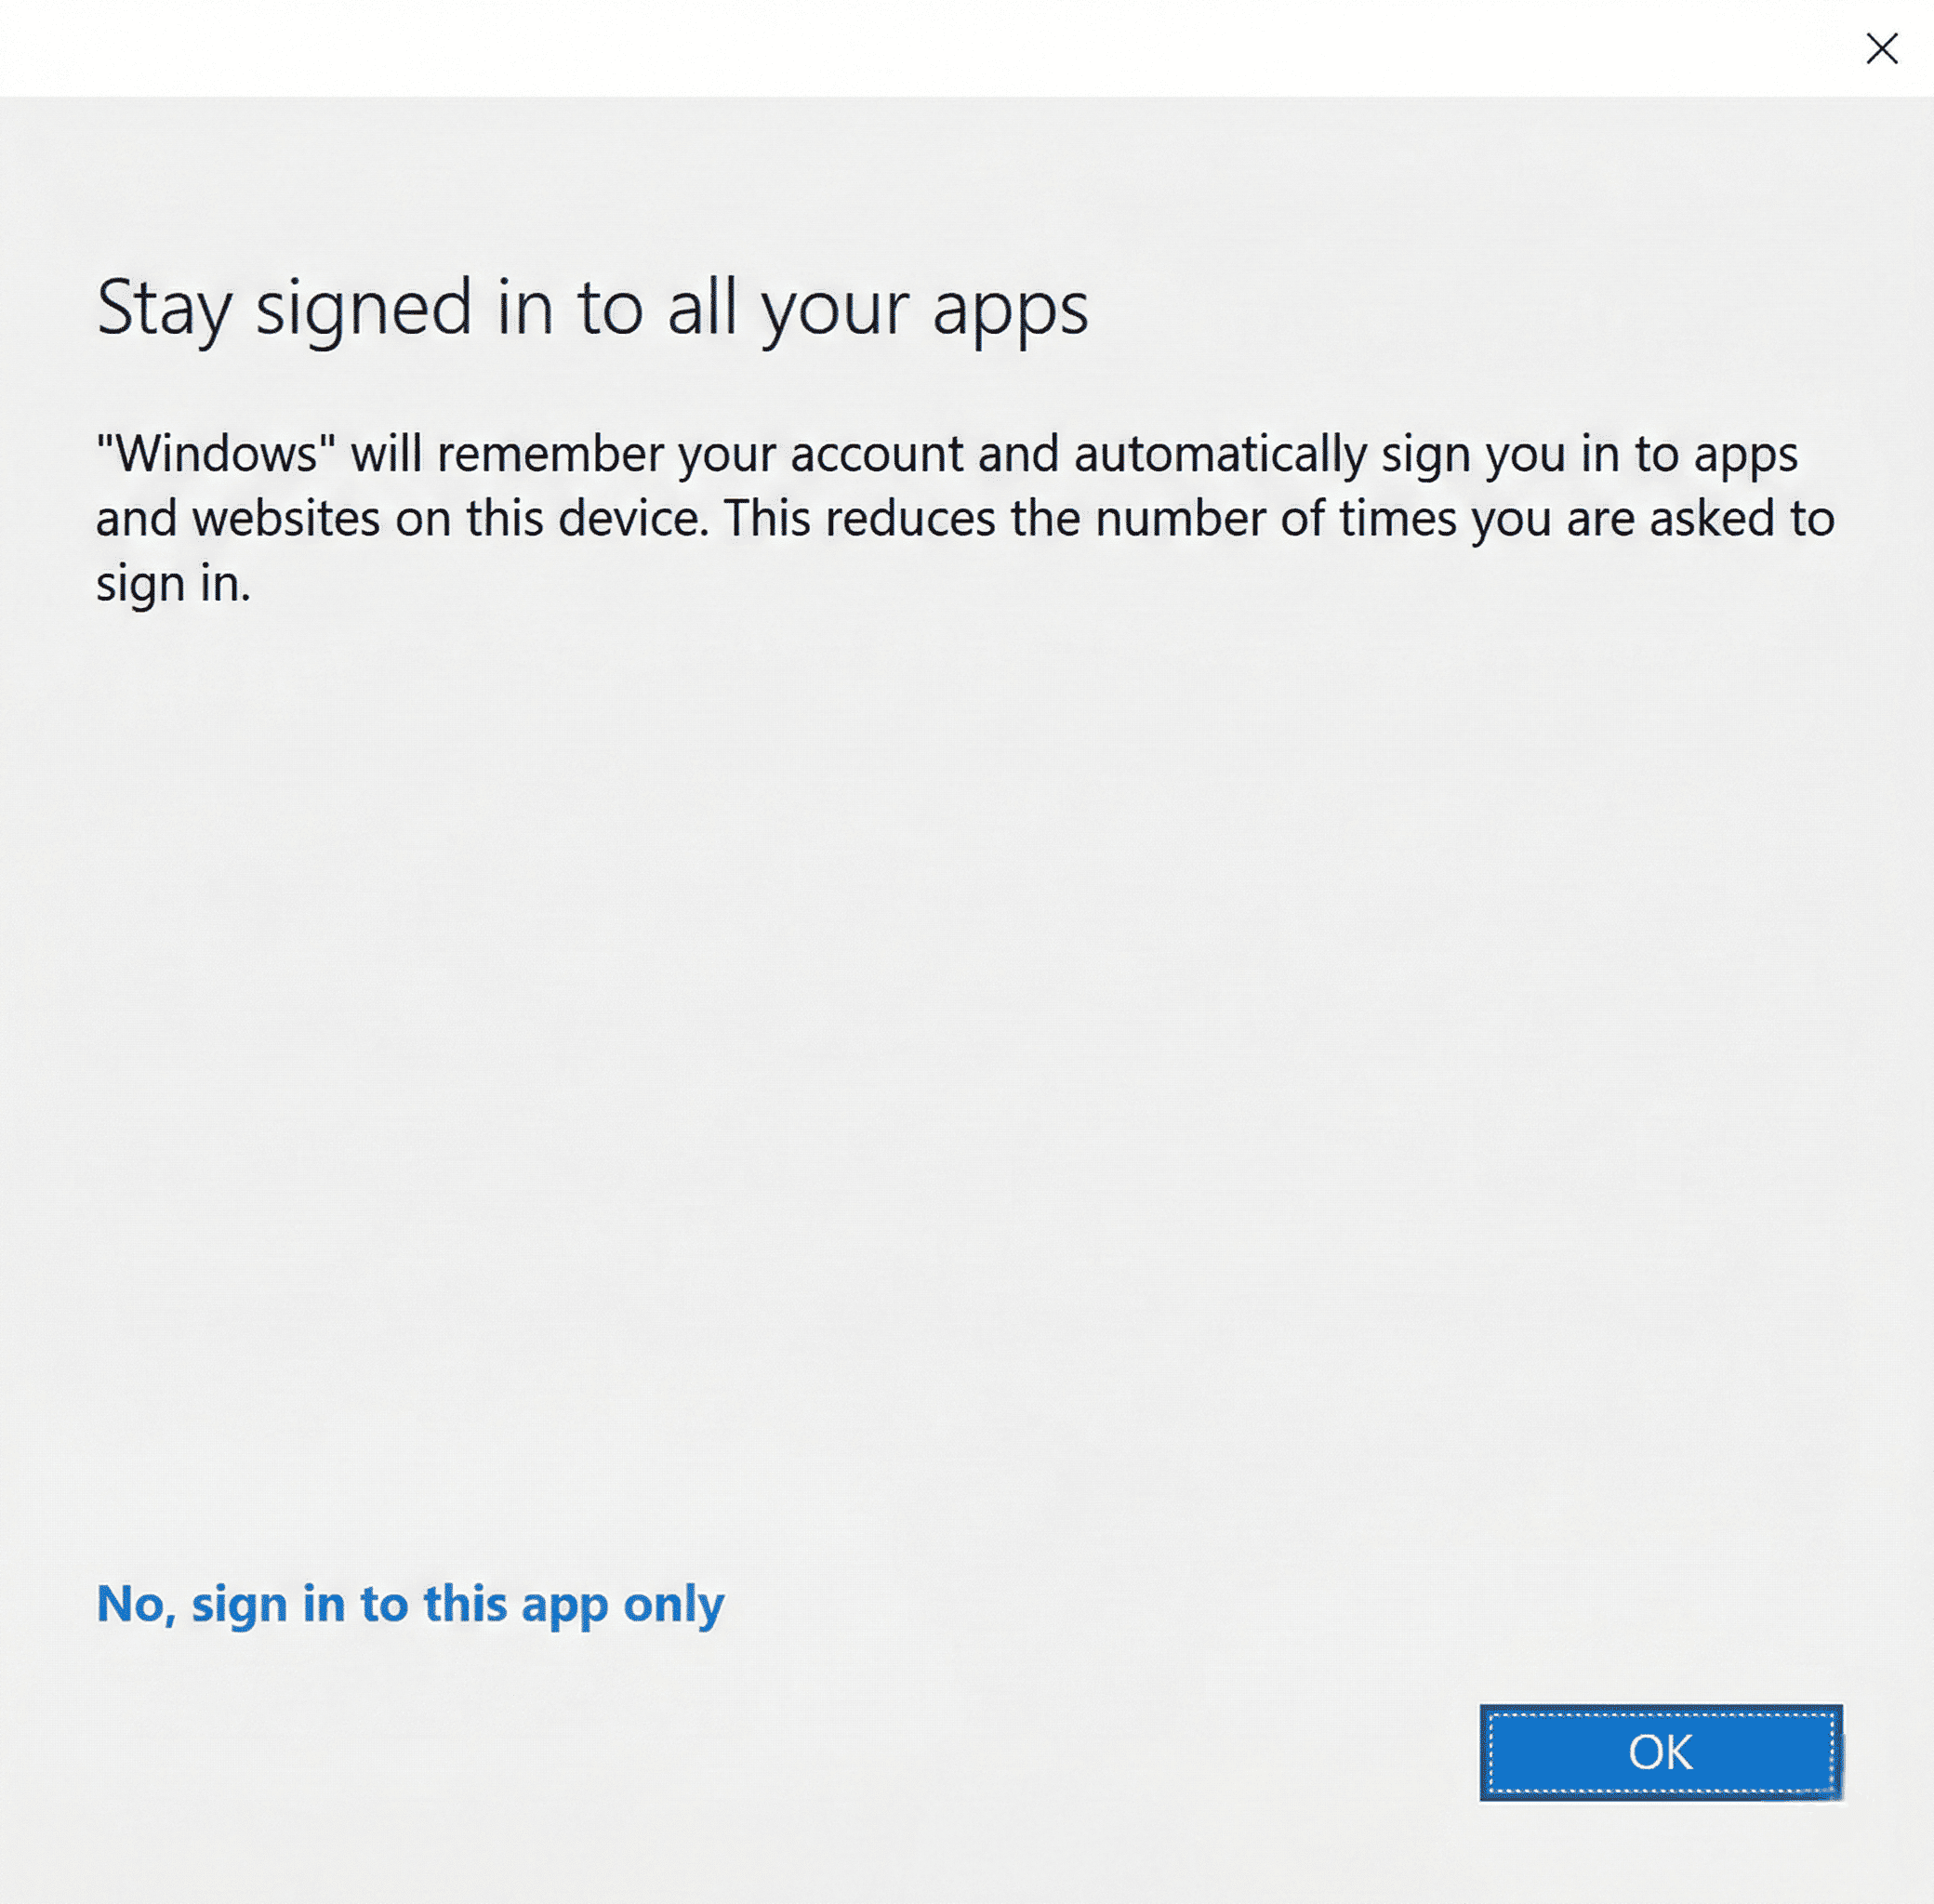
Fig. 3. App access selection
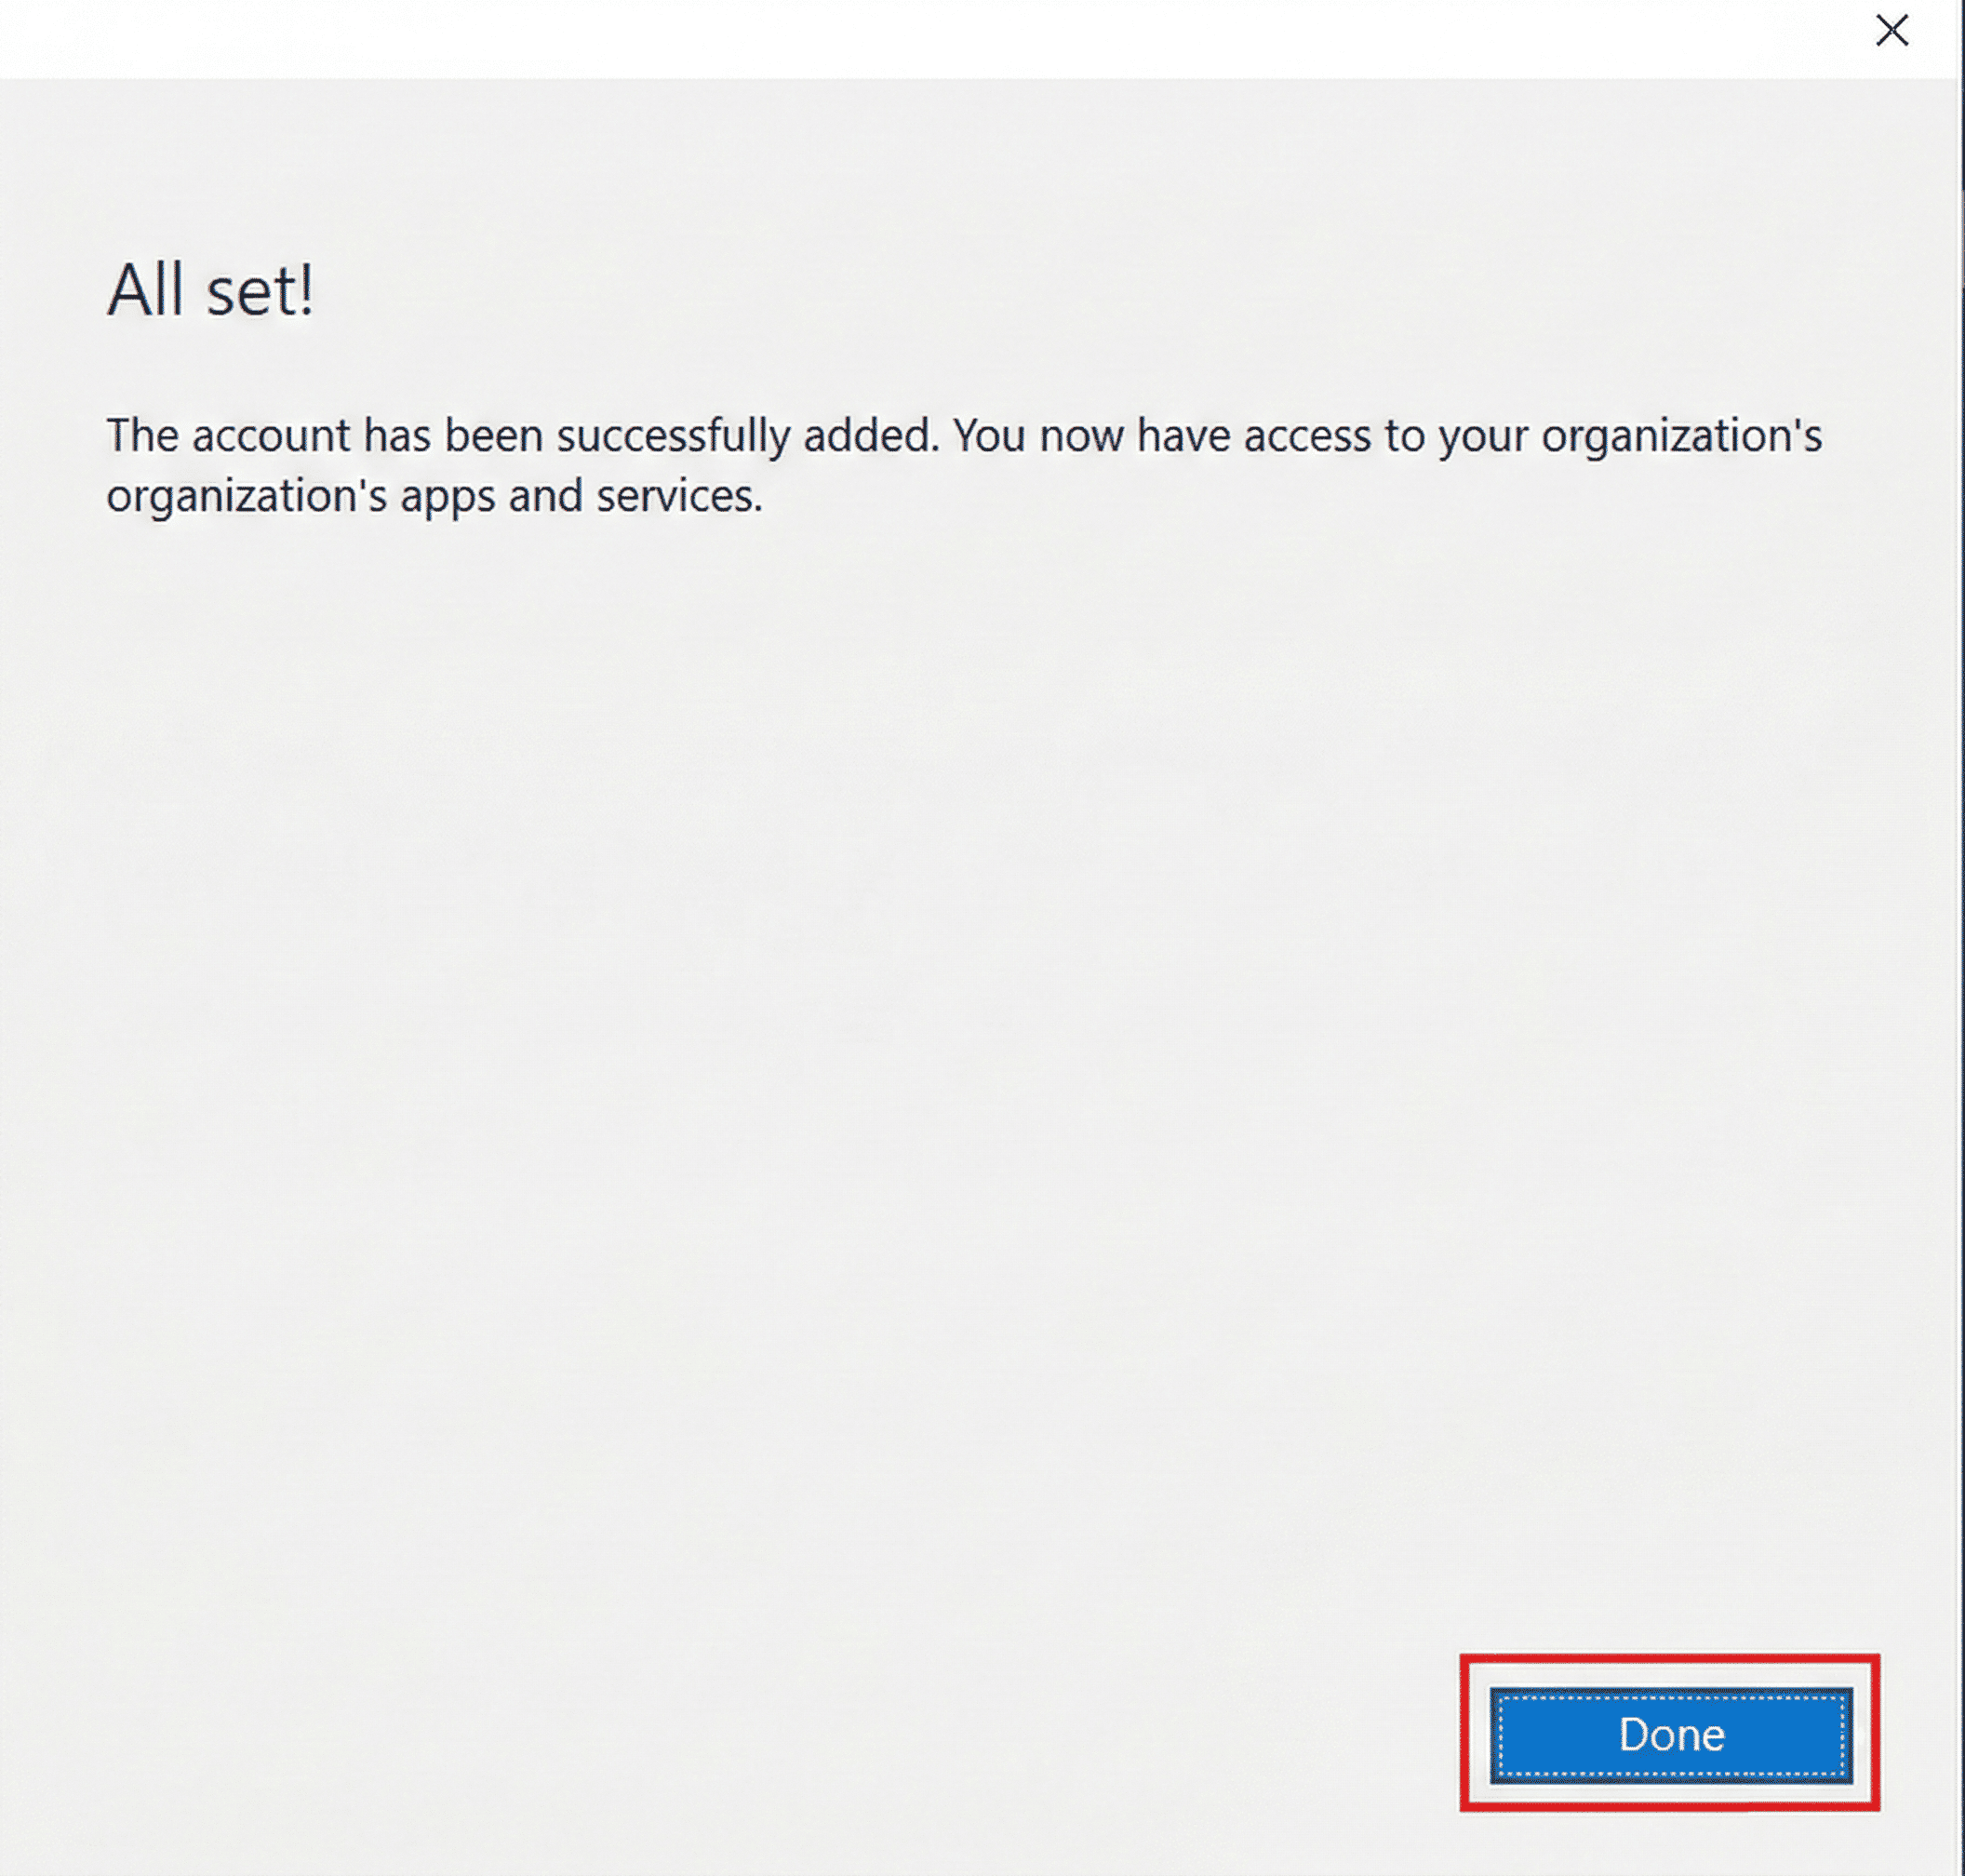
Fig. 4. Confirmation of setup completion
Fig. 5. Ready-to-use Outlook 2019 mailbox
Option 2: Adding an Additional Account
If you already use Outlook for another email and want to add your KU account as a secondary one:
-
Open settings: In the top toolbar, click View -> View settings (see Fig. 6 and 7).
-
Add account: Select Accounts on the left and click Add account (see Fig. 8 and 9).
-
Enter details: Type your KU email address, click Continue, and enter your password (see Fig. 10 and 11).
-
Confirm access: Choose whether to connect to all apps or just email, and click Done (see Fig. 12 and 13).

Fig. 6. Path to settings via the "View" menu
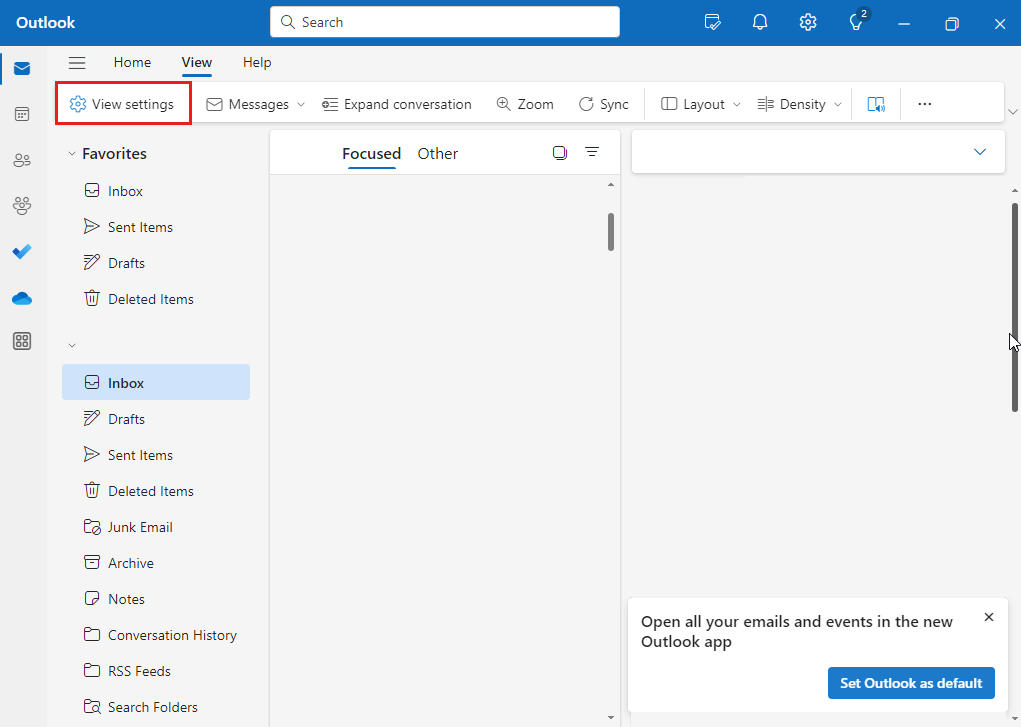
Fig. 7. Path to settings via the "View" menu
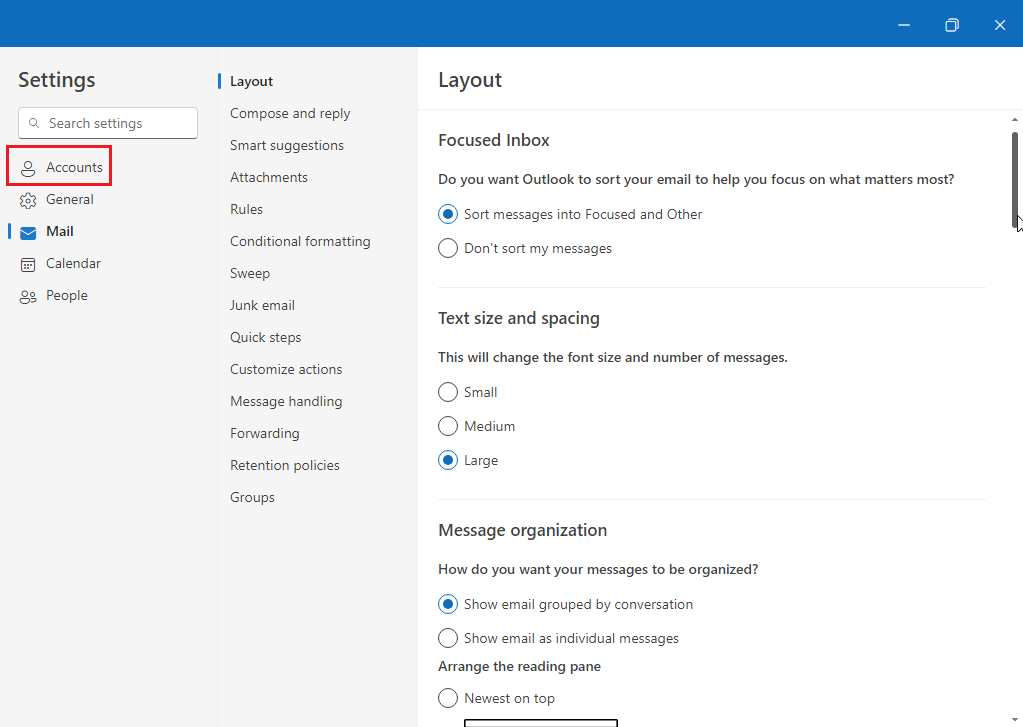
Fig. 8. Account management section and add button
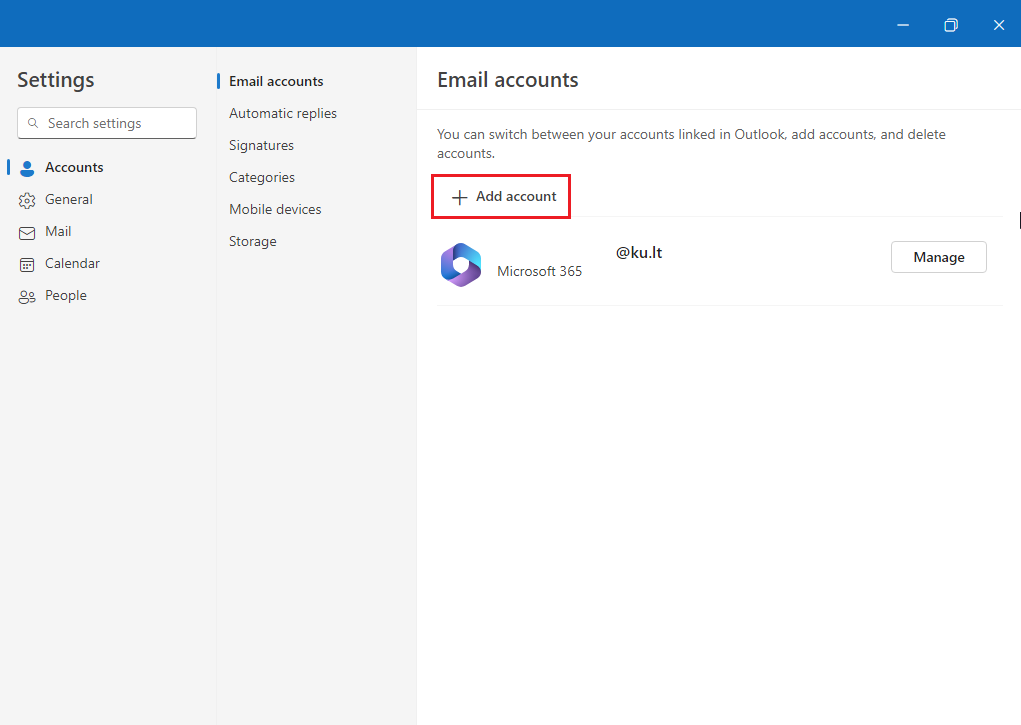
Fig. 8. Account management section and add button
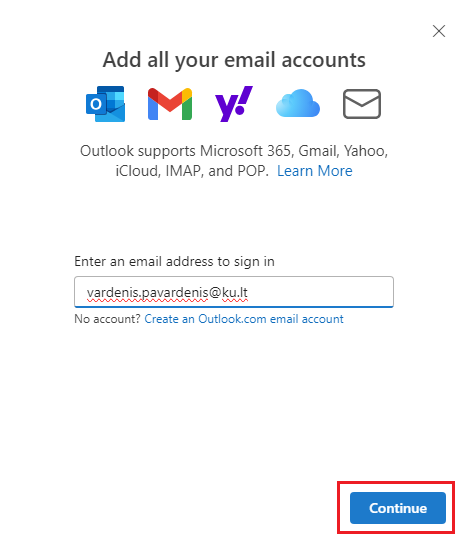
Fig. 10. Entering address and password
Fig. 11. Entering address and password
Fig. 12. Final confirmation
Fig. 13. Final confirmation
💡 Useful Tip
If you have added multiple accounts, you will see all of them in the column on the left side of Outlook. You can easily switch between mailboxes simply by clicking on their names.