New Outlook
In the new version of Outlook, shared mailbox management is integrated directly into the main folder pane.
1. How to Add a Shared Mailbox?
Automatic Addition:
-
Once the administrator grants you permissions, close and restart the Outlook application.
-
The shared mailbox should automatically appear in your folder pane.
Manual Addition (if it does not appear automatically):
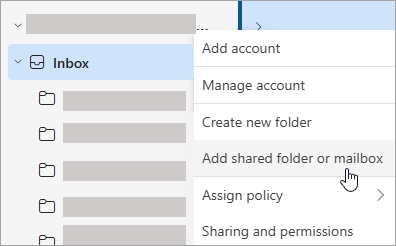
Fig. 1. Adding a shared mailbox
2. Sending and Replying to Emails
Sending a New Email:
-
Select New mail.
-
If you don't see the From field in the window, go to the Options tab and select Show From.
-
Click the From field and choose the shared address. If it is not in the list, select Other email address and enter it manually.
-
Complete your message and click Send.
Replying to an Email:
-
Open the email you wish to reply to.
-
Check the From field. If the shared address is not present, click the field and select the correct mailbox from the list.
-
Complete your reply and click Send.
3. Calendar, Contacts, and Search
-
Search: Select the shared mailbox in the folder pane (see Fig. 2) and enter your query in the search box at the top. Results will be shown based on the selected folder.
-
Calendar: In the Calendar section, select the shared mailbox. All members can view, create, and modify entries.
-
Contacts: Go to the People section and find the shared mailbox contact folder under My contacts.
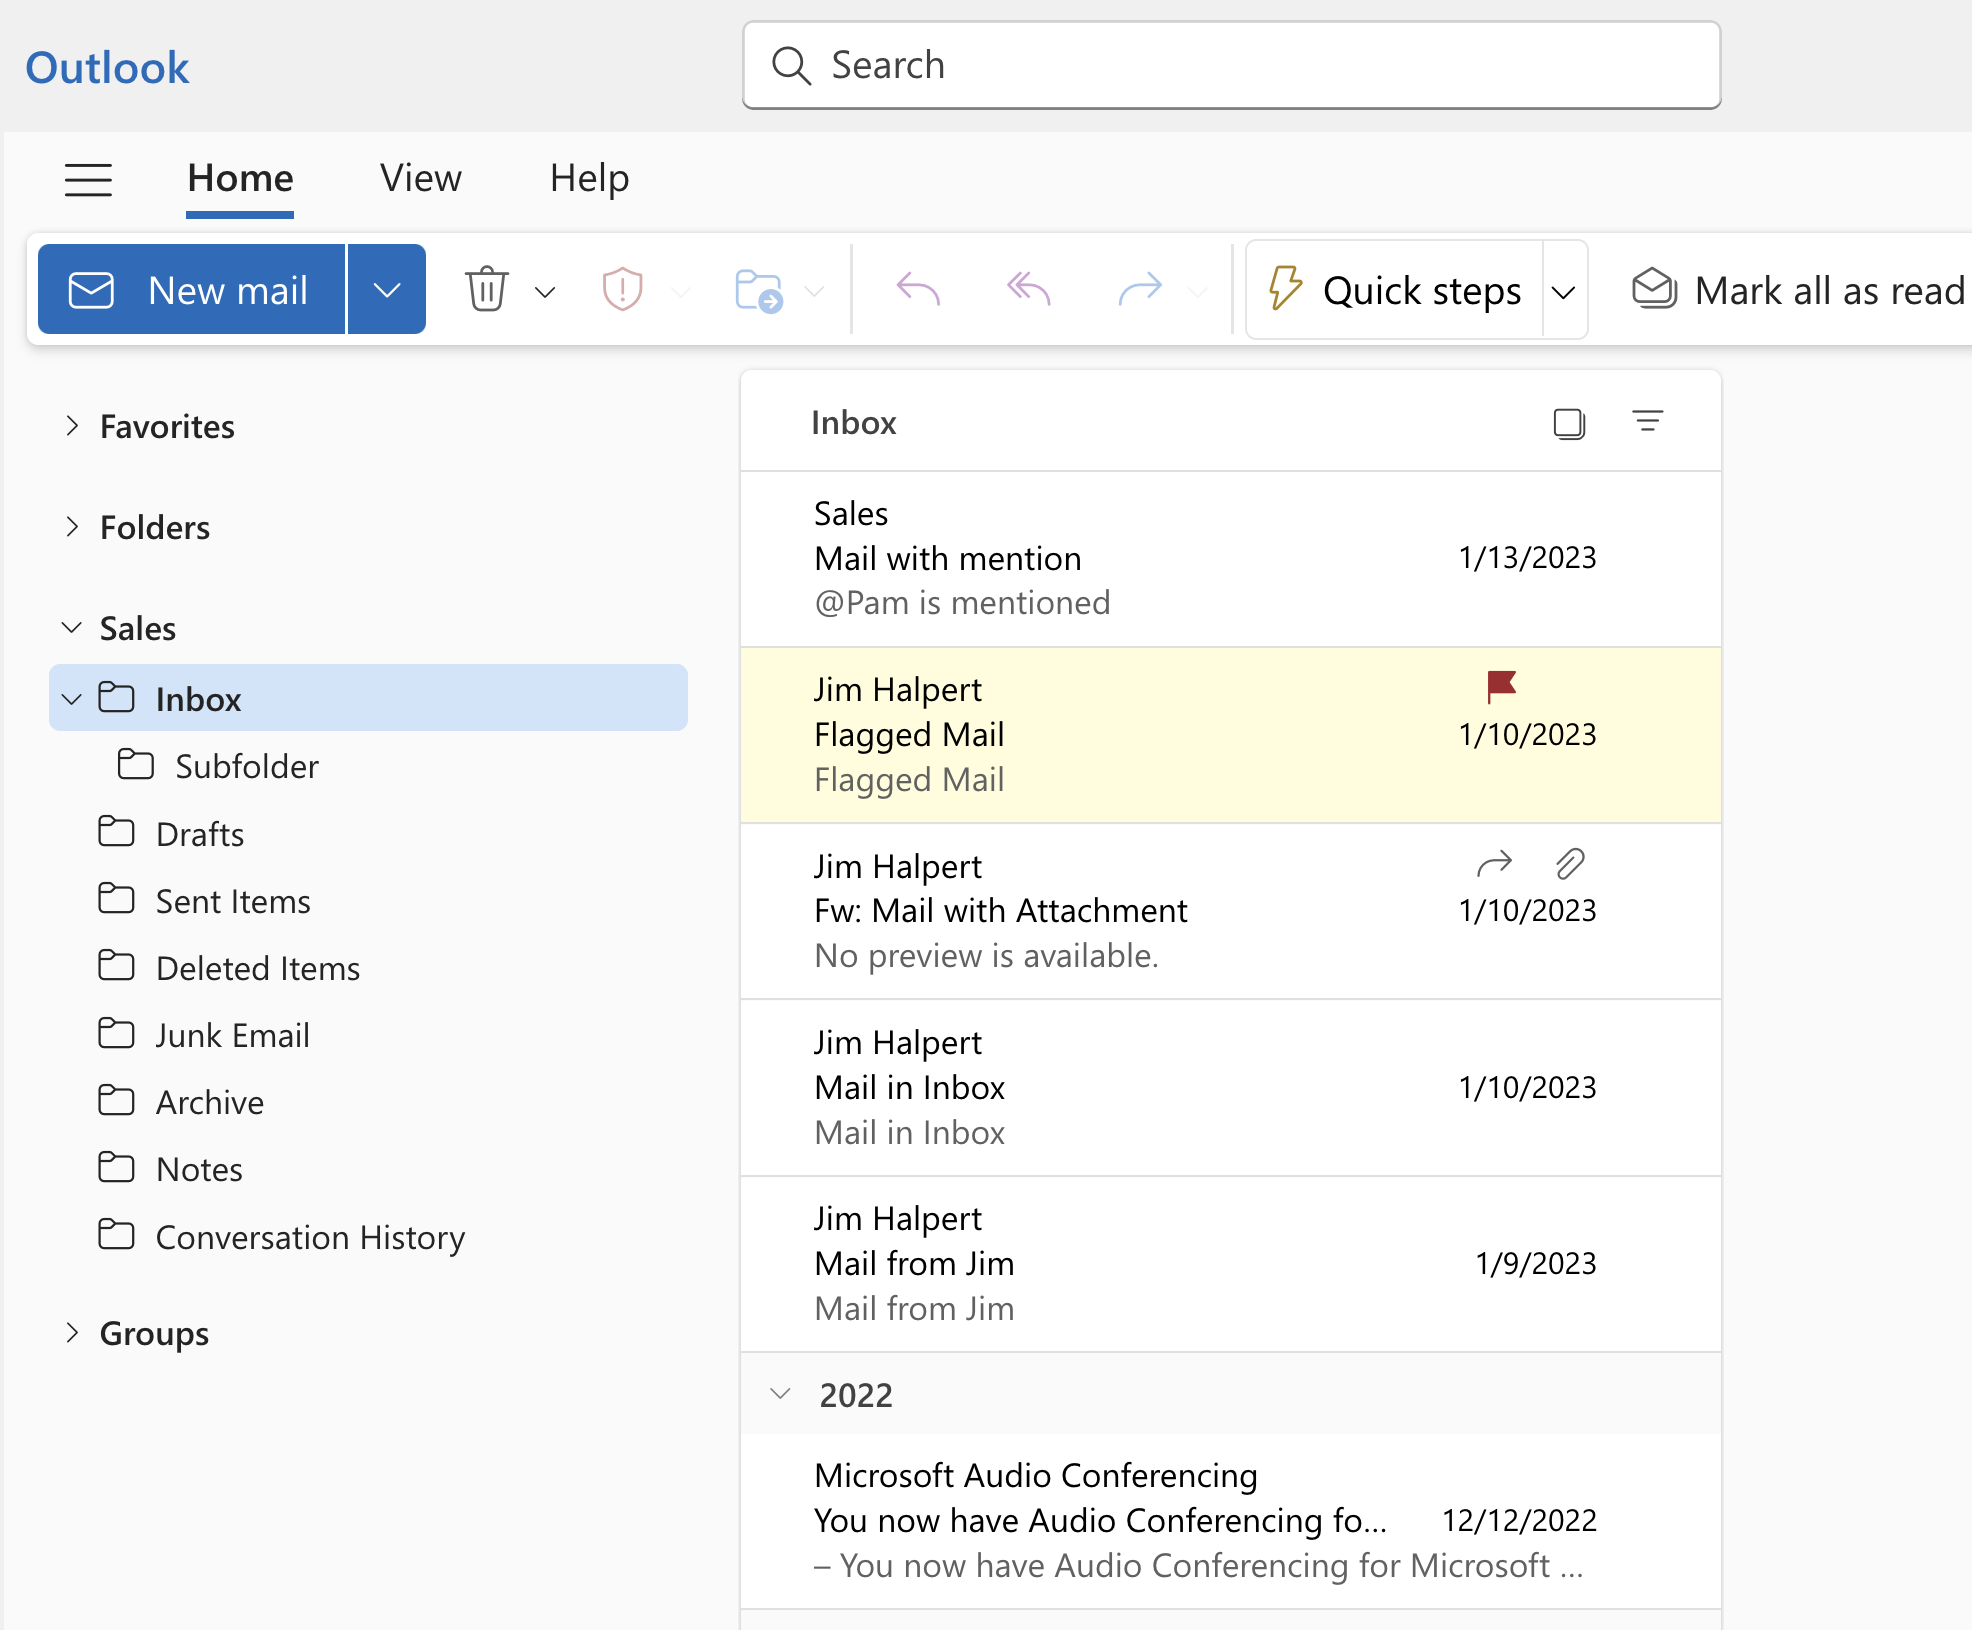
Fig. 2. Selecting the shared mailbox
💡 Troubleshooting
If elements do not appear automatically:
-
Wait a few minutes for the permissions granted by the administrator to take effect.
-
Add the mailbox manually as described at the beginning of this instruction.
-
If the problem persists, please contact KU IT Support.