How to Change Meeting Options?
Microsoft Teams allows you to change meeting settings both while planning and after the meeting has started. This helps manage participant permissions and ensures a smooth workflow.
1. Changing Settings Before the Meeting
If you want to adjust a scheduled event:
-
Find the meeting in your Teams Calendar and click Edit (see Fig. 1).
-
In the Details section, you can change (see Fig. 2):
-
The title, date, and time.
-
Add or remove participants.
-
Update the meeting description.
-
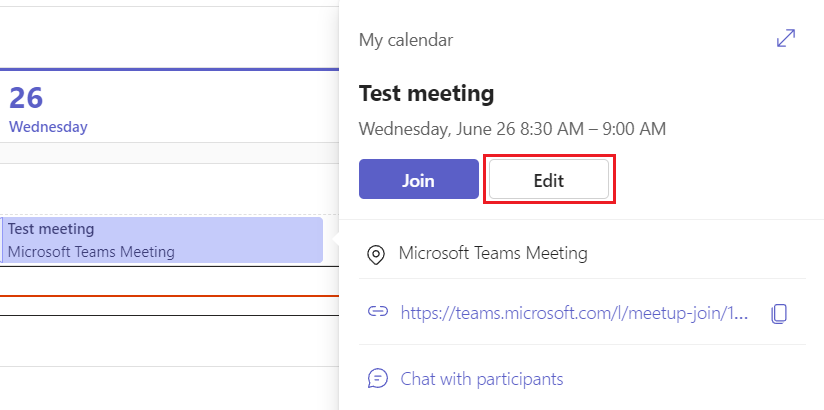
Fig. 1. "Edit" button in a calendar event

Fig. 2. Meeting details editing window
2. Changing Settings During the Meeting
If the meeting is already in progress and you want to change the rules (e.g., who can share their screen):
-
On the control bar, select More (three dots).
-
Go to Settings and select Meeting options (see Fig. 3).
-
In the window that opens on the right side (see Fig. 4), you can set:
-
Who can bypass the lobby: Whether participants enter immediately or must wait for permission.
-
Who can present: Restrict screen sharing to yourself only or allow everyone.
-
Participant permissions: Enable or disable microphones and cameras for all participants at once.
-
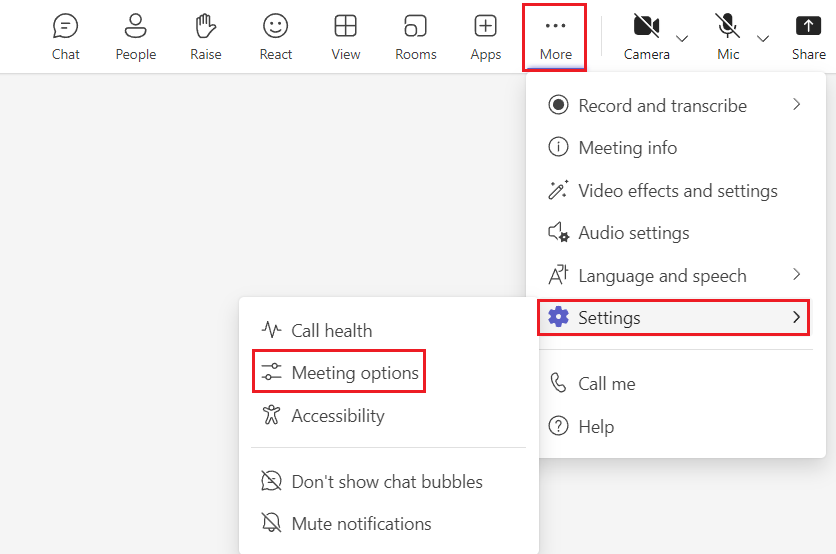
Fig. 3. Path to "Meeting options" settings
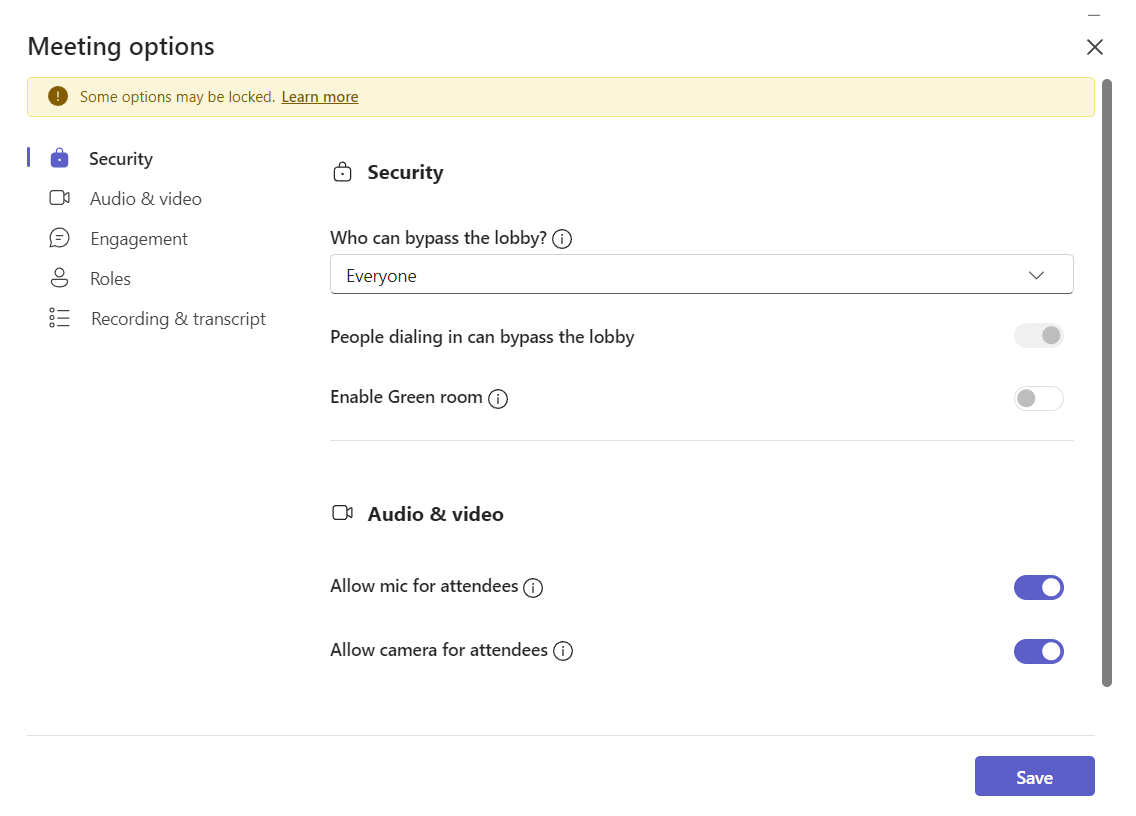
Fig. 4. Detailed meeting options panel
💡 Important to Know
All changes you make via Meeting options during a meeting take effect instantly. This is especially useful if you want to quickly manage noise (mute all microphones) or grant presenter rights to a colleague.